Monday, March 11, 2013

Handrails Installed

I went to the boat yesterday and spend the day there. By spending the day, it was around 8hrs or so.

I've been working on a college class for the last couple months. I've ended up getting a few weeks behind and working on it at home gets old and felt a change of location would be helpful. It was a productive day and happy it turned out well. I got some school work done and even did a little work around the boat.

It was a pretty warm day too. It got almost 70F so it's a sure sign that spring/summer is right around the corner.

While at the boat, I thought that it would be a good idea to get the handrails back on the boat. The tarps that have been covering the deck were wearing down and the ties holding them in place were breaking too. I ran back to the house and got the handrails. I also went to Home Depot and bought a countersink bit.


I taped the underside of the holes on deck to keep from dust getting all over the inside. It worked out pretty good when cleaning it up afterwards.


I drilled out the hole with a countersink. I read somewhere that countersinks help when sealing the hole with butyl tape, that I used here.


I placed the bolts only slightly above the deck and placed butyl tape around each bolt.


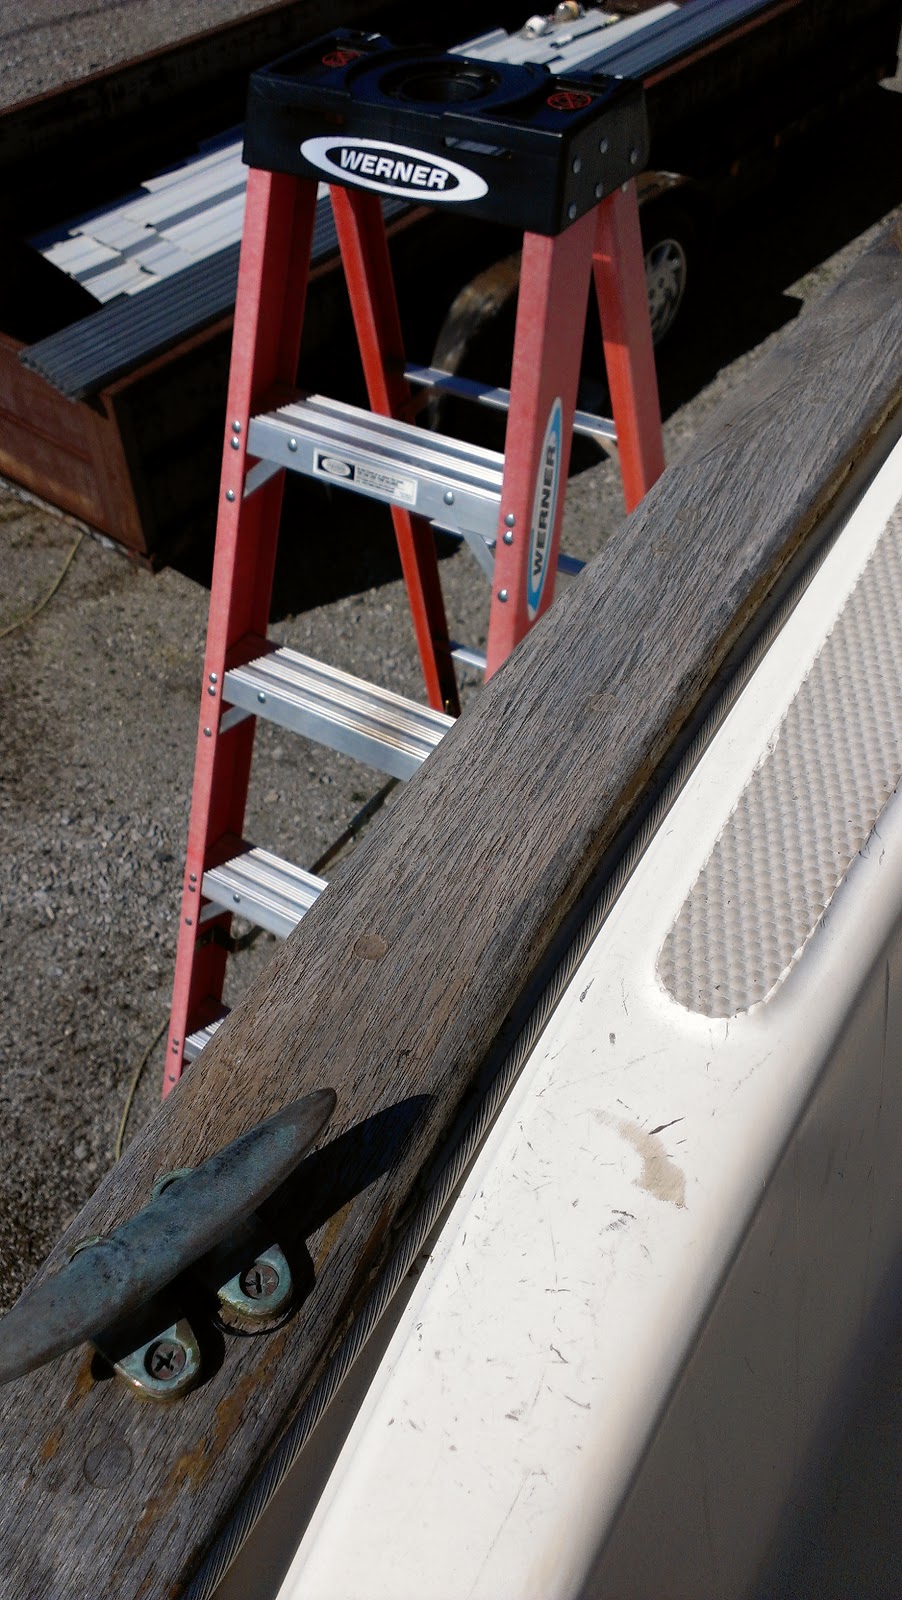
I was able to get everything back on the boat and happy that I have varnished wood on the boat again. Even though many of the bolts were still covered with plugs, they still lined up and got tightened without any issues.


Not long after I installed the handrails, I was looking at the sky and thought they were looking a bit dark. I also remember the forecasts were expecting rain. I repacked things back in the truck leaving the tarps from the boat on the side of the deck and on the way back to the house, it started to rain.

Today, I went to check on the handrails since it was raining all night. Everything with the handrails appeared to be dry. The only wet spots I found in the boat was by a porthole where there was previous water damage and space just below the companion way. I tightened the closure on the porthole hoping it will help and left the boat.


Even with this work, I still did some reading and homework and finished some homework.

I also did a dry fit of the thru-hull and seacock to make sure I had cut enough threads off the thru-hull and it on the hull. In order to keep the thru-hull in place, I used the boat hook that came with the boat against the fitting and a camper that is next to the boat.


I tried out the seacock, everything fit fine. When I'm able, and it's warm enough again, I'll take the epoxy supplies to the boat and install it. Priority right now is the school work and I still have several weeks of this class before I start the next one.

Friday, March 8, 2013

REFIT Plan: Canvas

I've been looking at the fabric on the boat and see that it is well worn and in some places, frayed too. Since many boats use Sunbrella brand fabrics on their boat, what I have appears to be Pacific Blue which seems to be a pretty popular color considering so many boats have it.

Forward Hatch Cover

Tiller Cover


What I've been looking at lately is to change out my fabrics on the exterior to Sunbrella's Linen color. It's a nice tan that will really lighten the deck space.

What to change.

Well, the forward hatch, shown in the picture above would be replaced, along with the mainsail cover, winch covers, tiller cover and looking to add covers for the deck handrails to protect the recent varnish work. There's also a dodger, which I haven't seen yet as it's stored in the head and just haven't pulled it out yet. I'm also looking to someday have a full boat cover.

Down below, the cushion fabrics, while decent condition, look to be a bit dated. I'm also looking at using a lighter color, whether linen like on deck or patterned, it's something I'll look into when I get to that project. I'd really like for everything below to match. I might change out the foam too which currently has a yellow foam with white batten.

The red cushions are for the quarterberths

How to do it.

Many people look at getting new fabrics and go to a professional. Personally, I like trying to figure things out on my own. I like the idea of learning all the systems on my boat and will help me when maintaining everything too. I've been looking around on Cruisers Forum and Sailnet to get ideas on sewing machines. I decided to get a LSZ-1 along with some accessories from Sailrite. I like the features of the machine and that it can also be used manually when power may not be available. What's really nice about Sailrite is that they have many how-to videos on their website. They will be helpful when learning sewing techniques and ideas for projects.

Another source I'll have for ideas will also come from a Sewing Group on Cruisers Forum. It's just getting started and will keep growing as interest continues.

While this will be part of my refit I hope to start in a few years, I may still do a few projects in the meantime.

Sunday, February 24, 2013

REFIT Plan: Exterior Teak

The Plan:

With the use of a scraper, some teak cleaner and brightener, I plan to scrub any exposed exterior teak to freshen in up to get ready for varnish.

I know many people that would say to leave it go grey because of all the work involved to varnish. I like the look of varnish. The previous finish got a little worn and fell apart. I'm thinking if I can get a good base to start with, it should be easier to maintain. From how I heard what CETOL looks like, I suspected that it was used before. My suspicions were correct when I browsed through an old maintenance book. I like the look of the Epifanes varnish I'm using for the handrails and will continue with that.

The bowsprit and stern will need some more cleaning off of the old varnish more than the sides but it'll all get a good scrub.

While I did the handrails, mainly because they were leaking inside, I'm looking at doing the rest during the refit period but I could just work on it slowly over time.

There are some spots, that can be seen in pictures, where the plugs have popped out. The intention is to plug them up again and hide the screws. There is also places where it looks like caulking could be replaced as well.

This is the stern, flaking off.


Hatchboards for the companion way.


Calking needs replaced.


Some holes need re-plugged.

REFIT Plan: The Head

Looking to change the head to a composting head. I've been wondering how they are supposed to work and how well and been researching it. Seems that anyone who has one is glad they made the change. There are two companies I've come across, Nature's Head and Airhead that seems to have the main products.

The main concern I have is that it seems both of them require a vent through the deck. I'm not too crazy about putting another hole in the deck and where the head is, lines between the mast and the cockpit go right overhead. As I'm writing this, I'm thinking I might be a little creative in the vent. Maybe not going straight up but maybe somehow route a vent toward the stern of the hull. Looking closer at the Nature's Head website, it might be possible to use the deck pump out port location for the air vent since the hole is already there.


Along with conversion to a head, that means no pipes to worry about. I can remove them and likely gain  a little bit of storage space. While I'm looking at replacing all the seacocks in the boat, I may still be able to replace the one for the head in case I, or someone else, decides to install a regular marine head. The deck waste outlet will still be in place which I could re-seal that to make sure it's water tight.

I welcome any thoughts.

Here are the pictures of current setup. I didn't have a tape measure when I took these pictures but I'm hoping one of the composting heads would fit in this space without any issues. It would be nice to free up space by getting rid of those pipes.


Thursday, January 31, 2013

REFIT Plan: Mast & Paint Project

This is a post to show what I plan to do with a mast refit. I have some worn areas on my mast that are worn enough to show the aluminum and old manufacturer stickers that are faded and cracked. I'm looking at refinishing the mast similar to how Drake did in this video below.


Basically, the steps he used (mentioned in the video) were:
  • removed all hardware
  • Sanded down to bare aluminum
  • scrubbed it with Ajax and scotchbrite
  • bathed it in alumiprep
  • bathed it in alodine
  • painted with zinc chromate primer
  • painted 5 coats of Awl-Grip 501 primer (alternative currently available: 545)
  • sanded
  • painted 3 coats of Awl-Grip Awl-Craft 2000 paint
While it looks like Drake painted his mast white, I'm looking at doing something different. I'm thinking of painting the mast yellow. Having a yellow mast would definitely allow the boat to stand out if ever at an anchorage. I've seen pictures of other boats (including another Nor'sea) with a yellow mast and I like how it looks. I found this link with info that looks helpful for this process.

I believe there may be rivets that need replacing. I'm also thinking to look over all the mast hardware to see if any need replacing. The ends of the spreaders seem to be degrading and I will look into whether they can be fixed/replaced, which I might look into when I put the boat in the water this year. I wonder if it's possible to have spreader ends with a spring loaded lock to keep the rigging in place. Anyone know?

Here's a picture of one of them, they both look the same.


An addition to the mast I'm considering is to put a mount on the mast for a new radar head. Scanstrut is the main company I found that have mast mounts that would work.

I want to have the hull, waterline and bottom painted differently. For the topsides I'm looking at a dark red like Awl-Grip's "Claret", with a "Federal Yellow" waterline and a black bottom. Then the yellow mast would match the waterline.

This picture I found on an ad on Yacht World show the colors I'm looking at. This burgundy color is my favorite color.


Again, this refit I'm looking to START sometime around 2015. I'll be pretty busy along the way.

Monday, January 21, 2013

REFIT Plan: Instruments

This part of my refit plan, I'm looking at replacing the Garmin 546s and Furuno radar. Lately, the Furuno stopped working which I may just need to trace the power to see if I can get it working again. While the 546s still works, I like the idea of having a bit larger screen.


Both of these are mounted by the electrical panel on a swing out arm to be viewable in the cockpit. Both take up quite a bit of space and I'm thinking it would be nice to consolidate the two into one system.

My idea for the upgrade is to get a Garmin 4208 chartplotter with a Garmin Radar, either the 18HD or 24HD. The Garmin 740s also seems to be popular and is touchscreen and costs less. Currently, the Furuno radar antenna is mounted on a pole on the stern rail. I'm thinking to mount it a little higher with a Scanstrut mount on the mast.

I can mount this single screen on the swing mount but I'm leaning more towards the idea of placing it where the bulkhead compass is currently mounted. This way, I won't have to have it swing back and forth on the swing mount. I'll look into how it might work out later but this is my current plan.

If this new chartplotter is mounted in place of the compass, I thinking to make a new companion way panel that is low profile, but big enough to mount the compass. This panel would removable for the times when not sailing.

Garmin also has AIS capabilities that can be viewed on the chartplotter. This is something I considered adding to this installation but I may not use AIS (yet). Maybe a VHF radio with AIS receiver could be a good alternative. Another aspect of some of the equipment is the possibility of using it outside of the US. That's when the FCC comes in where a Ship Radio Station license and Restricted Radiotelephone Operator Permit seems to be needed. Just something else to research along the way.

Sunday, January 20, 2013

REFIT Plan: Introduction

Right now, I'm planning on a refit of Rhapsody. Several posts following this one will hopefully explain some of the projects I have planned during this refit. They will start with "REFIT Plan" just as it does in the title of this post. I'll look for ideas along the way with research and likely receive some advice too before I actually get to work on them so some plans may change along the way. As I work on these projects, I'll post the progress and results.

This boat is over 30 years old and hopefully some of this will allow the boat to last even longer.

While I am still looking at using the boat this year, I found out that I will be going on a trip overseas for work in 2014. During that trip, I expect to have the boat out of the water and not long afterwards to start on a longer refit which is what I'm referring to in this post. So the main refit projects will likely start in 2015.