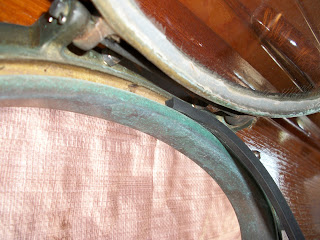
For some reason, the ends of the old gaskets were at the bottom of the porthole instead of the top.
I think that is partly why these two started leaking.
Here is the spool of the gasket material. it is 1/4" squared.
The old gaskets came out pretty easily and they were dried throughout.
I started these new ones at the top of the portholes although some I did a little offset so it would be easier to get started but still at the top.
Once I got the material into the slot, I had to do a little adjustments because there were small spaces showing through.
I think they turned out pretty good.
I looked over that porthole and it looked like it was still closed pretty good. Now I just have to figure out whether its possible to replace it. For the most part, this went better than expected. some parts of the groove allowed for pushing the material in fairly easily but mostly used the little screwdriver to get it in. Now my thumbs and index fingers are sore but it is worth it.


No comments:
Post a Comment