Got some wire supplies the other day. Had some additional wire I needed to replace/clean up. Mainly, I wanted to move the wires that cross in front of the engine out of the way. Along the way of planning this part of my refit, I saw one wire that wasn't even tinned (went to the starter), and most of the connectors didn't have any sort of heat-shrink. I felt it was a good idea to remedy those items.
I saw a lot of the wires went to a single-stud bus bar... not really a bus bar since there's only one post, but I wanted to install an actual bus bar to spread things out and have things better organized. The positive also has a cover. It was a little tight installing that one since there was so many other wires in the way but I got it where it would work out.
I found special connectors to use on this project. You'll see in the pictures below, they are 90 degree lug terminals. I mainly bought to come straight out from the selector switch to keep the wire from sharp bends. I previously had connectors touching at the battery switch so I wanted to prevent that. Now, when the switch is set to off, it's really off. The terminals are made by Panduit. The battery switch has 5/16" studs on the back so I got three of them (LCB2-56F-Q), and I bought one 3/8" (LCB2-56F-Q) that worked out well going from a fuse connected to the house battery and goes to the selector switch. (note: the description says pack of five, but the price is for individual connectors).
cleaning up these wires in the way
supplies laid out
old POS side
Old NEG side
Cover base
Bus Bar installed
Covered
first wire to the selector switch, going to the bus bar
The wire supplies didn't stay organized for very long, but still somewhat grouped together. The large tool with red handles are not bolt cutters, but actually a crimping tool for heavy duty lug terminals (for wire larger than 6ga). The yellow handled tool is a wire/cable cutter. Makes some nice clean cuts. The blue handled tool is a ratcheting type for crimping smaller gauge heat shrink (not insulated) terminals (the red, blue and yellow terminals in the bags).
It's pretty time consuming to take old wires out, run the new one's in, set the terminals, crimp, heat shrink, then install. While it doesn't look like much, I'm just getting started. Plenty more to follow on this project.
I did some cleaning up inside the boat this past weekend. Since I wanted to replace the flat-head screws on the side paneling, like I did in the forward salon/v-berth area, I cleared out the port quarterberth and removed some screws. While I was at it, I added some of the same insulating material. Only able to do a couple parts as I ran out of what I had on hand. At the same time, I replaced a hose that went from the fresh water tank below the quarterberth to above it. I think it's for venting and to keep from the tank from being damaged from a vacuum when being used. The hose was a bit disgusting inside and it was sticky all around. I think something left over from when the boat was infested with bees.
close up of old hose
old hose in the trash
New hose in place along with some insulating material
Lastly, I got a small tube of Sikaflex 291 that was used to bed down the seacock. Once this was done, I attached a small piece of 1-1/4" ID hose. I closed the seacock, put some water in the sink until it came to the drain and waited. No loss of water, no leaks. Job well done! Still need to put the thru-hull on, but thinking to wait until I do some work on the bottom.
the other seacocks are waiting to be installed for the cockpit drains
In the meantime, I'm making plans for making an order of electrical supplies (wire, terminals) and waiting for it to warm up so I can continue on other projects. Sometimes, these small projects make a big difference in between the major projects.
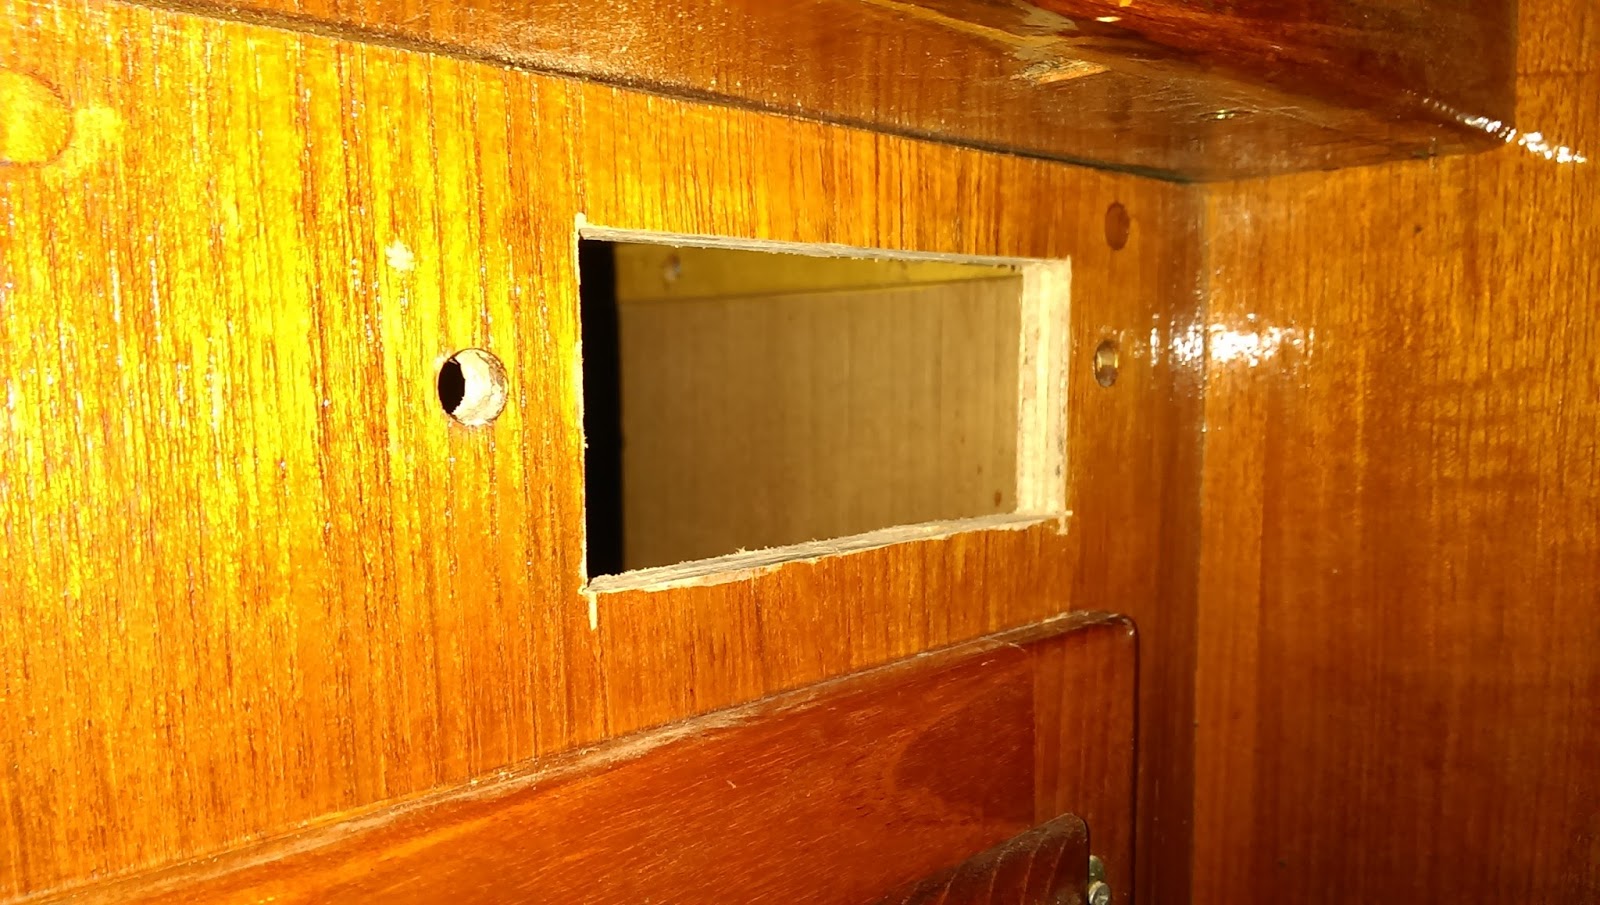
In a previous post, I showed a little breaker panel that I ordered from Front Panel Express. I wanted to place it under the nav desk where an old car stereo was located, that I had already removed. Last weekend and today, I cut the hole a little larger to accommodate the breakers. When I tested the fit, everything worked out fine. Plenty of space. I only have two breakers for now, but will get others another time. The only other thing I need to do at this point is to screw it down to the cabinetry and wire up the VHF above the nav desk.
Small project, but the recent cold weather keeps me from doing other major work. A small step forward, but it's still progress
the small holes on either side were from the old car stereo
While I made a few posts on my mast and boom already, I decided to post something longer to show the progress that went into where the mast is today.
When I moved the boat from Tennessee to Virginia, I had it parked nearby in the neighborhood. I moved the boat to Rockhold Creek Marina a week later. Before the move to the marina, I took the boom off and stored it in the garage at the house for some work. Took the hardware off, and cleaned up a few pieces here and there. I had expected to do all the work myself, but then decided that it would be best to hire some of it out.
I took the gooseneck end off as there was a LOT of corrosion and paint was lifting up and it was just a horrible mess. With two cam cleats mounted on either side, I went to remove them. One of the bolts holding it on did NOT want to come out no matter how much I used the hammer. I used pliers to twist it out but still nothing. The pliers caused the exposed portions of the bolts to shear off. I ended up having to drill it out and knock out the piece that was left after the drilling. Thankfully, drilling it out worked out well. I sanded it down with 80 grit sandpaper to get a lot of the corrosion off and soaked it in vinegar too to hopefully eat away some of it. Of course, I rinsed it down with water as well.
From what I have been able to find online, or rather NOT find, is that these two end pieces on the boom are not available anywhere so it's a good idea, I think, to take care of these before they're too far gone.
Badly Corroded
Drilled out, mostly
Knocked the last piece out
Vinegar soak
I pulled the piece off from the other end of the boom. I removed the lines going through it and set them aside for measuring and replacement at a later date.
outhaul
this is how the outhaul was attached in the boom
Serial number?
Made by Forespar USA
Here, a video showing the boom and hardware placement for the reefing setup.
When the end pieces came back from the rigging shop, they came out very nice. You can still see the pitting from the corrosion that was there but it's so much better than it was before.
Took off all the hardware from the boom. The slide for the gooseneck had a backing bar in the boom that dropped from place when the bolts came out.
When I took off the three reefing blocks, I found electrical tape on the bottom side. I believe this was meant to keep the metal from rubbing and ruining the finish on the boom.
Last piece to remove was attached by rivets.
The mast work to this point has been pretty slow as I work on other projects.
I consulted a shop about fabricating hardware for the mast. Like the tangs holding the standing rigging. It's more for preventative measures since much is still 35+yrs old. I also want the shop to repaint the mast, but the owner said I have to do the grunt work. Meaning, I have to take all the hardware off, pull the wires, running rigging, and even sand it down to bare metal. NO Paint!
Since the boom is already started, I went ahead and pulled the hardware off the mast and started sanding it down. For the end of Aug 2016, it's been going well with lower temperatures.
While already posted, here's the video showing the mast stripped of hardware.
And views of the grunt work:
The start of sanding
almost half way down one side
most of one side sanded. At this point, the sander I borrowed stopped working.
Found this line when I pulled wires, so using it for when it's time to run the wires back.
Since the sander I borrowed stopped working, I used the time to see how a paint stripper would work on getting the paint off the metal. Mainly looking to use it in the cracks/corners where the welds are. I thought it worked out well for the most part. Just have to wait for it to do the work.
The square is from the old Forespar factory sticker.
The mast step itself also had work done to it. Here, you can see the wire connections were made on deck. The rigging shop doing the work on the mast insisted all connections need to be made below, in the cabin. So he took the mast step and added a tube to it that would allow wires to be routed below deck.
While the mast, boom and spreaders were at the shop, they did a few modifications. They added a post by the mast head to move the location of the tri-color/anchor light. They patched up some holes for old hardware that was no longer needed and cleaning up some of the corrosion. The antenna connector was replaced and moved to a new location as well. Inside the mast, the rubber flap used for the wiring was taken out and a new conduit was installed. Main reason for this was some of the wires for the light by the spreaders crossed by the halyards
I went to the shop to see the work that was done, and to reattach the hardware myself with the shop owners help using their compressor and riveting tools.
the boom
I'm really happy with how this project turned out. A few people I mentioned this to were a bit surprised that I wanted my mast to be bright yellow and even talked me into other options... white (like everyone else), bare aluminum (which is still protected anyway.... but still, boring) and even one who suggested black stripes with the yellow going the full length, like hazard tape.
My boat will certainly stand out in an anchorage and will be easy to tell people to "find the boat with the yellow mast" in order to find my boat. :-)
And lastly, I wanted to mention that the work was done by Eastport Spars and Rigging in Galesville, MD. John, the owner, and his crew did a wonderful job. Many suggestions and discussions to make sure things were done the right way. Awlgrip products were used in the paint process and the color is Federal Yellow.