Brakes come up in discussion once in a while on the Nor'sea owners group. For good reason.
For owners who tow their own boat, trailer equipment is important to keep in mind. A Nor'sea is a big investment and the trailer should be well taken care of too. It's a very large load for most people.
When it comes to brakes, many boat trailers come with surge brakes. They work with brake fluid. When the tow vehicle slows down, the actuator, that attaches to the hitch, compresses when the load continues to push forward then builds pressure in the lines activating the brakes. The load can still push the tow vehicle before it stops. If there's no fluid (or not enough) in the brake lines, stopping is all on the tow vehicle. Dangerous!
The trailer that came with my boat is equipped with surge brakes. Other owners suggest the conversion to electric brakes.
With electric brakes, when the tow vehicle activates the brakes, the trailer can actually slow down first, pulling on the tow vehicle to a stop.
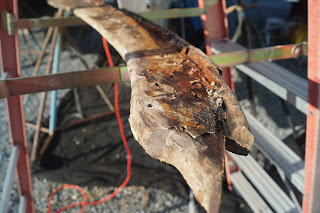
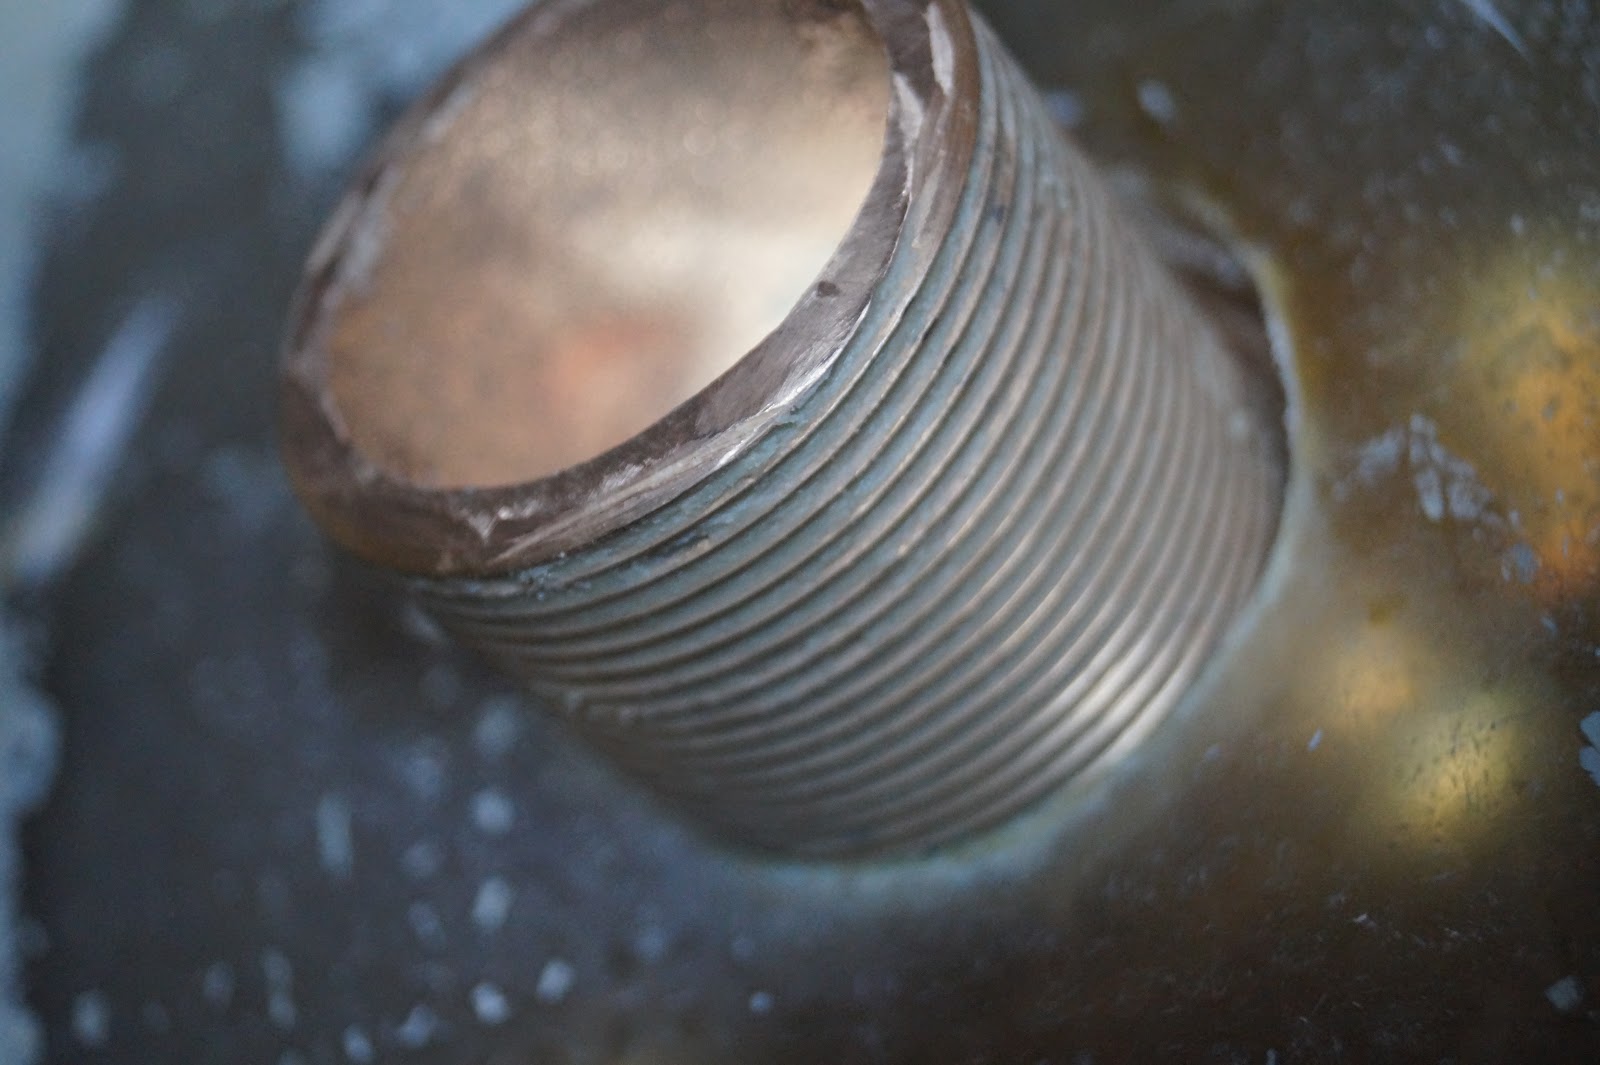
That's going to be one of the things I'll be working on over winter. Just today, I removed one of the brakes currently on the trailer to see what I have to work with so I can order some supplies.
I've been getting bottom paint off the boat. Nothing to exciting there. It takes a long time too because of the lapstrake hull. I recently described it to another guy in the yard, it takes twice the effort for half the results. I'm sure other Norsea owners could agree with me on that.
I may not have posted in awhile but I am still working on getting the boat ready. Lots of things going on, not boat related too.
Saturday, November 25, 2017
Sunday, October 15, 2017
Scraping The Bottom
Last couple visits to the boat, I was working on scraping the old bottom paint off so I can prep for barrier coat and bottom paint.
The lapstrake hull is one thing that makes this task take longer. Those ridges of the hull takes a little extra effort. Someone asked me recently why I don't just do a little sanding and start painting over top of it. Since I want to use barrier coat, I wanted to start over, taking it down to gelcoat and build up from there. Plus, the paint that's on the boat now, wasn't really well adhered to the hull anyway. It was already flaking off. While some areas are fairly easy to remove, other areas, is a bit more difficult requiring taps to break it up.
Once the old paint is off, then I can sand it down to rough it up for the barrier coat. A little late in the season to work on the bottom, I know, but I can at least do some prep work now, while weather is cooling down. At this point, I may just wait till spring to do the painting part.
Looks like this is going to take longer than I expected. I should have known, it IS a boat after all.
Saturday, September 30, 2017
Stern Rail Removal
Been a while since I posted but I'm still at it. Had some family visits that kept me from visiting the boat for a few weeks and the other time, I've been slowly making progress.
Recent activity include removing the stern rail and the wood that was damaged from the tree that fell on it during Hurricane Matthew. Still haven't had it fixed yet. I took off the pieces, cleaned up the goop that was used for bedding, some of which was still soft, and got it ready for repair. I emailed a shop nearby about getting it fixed a couple weeks ago but no response. I'd visit the shop, but they're only open during the week and I'm only able to visit the boat on the weekend.
j
j


This picture above, you see the wires coming up out of the deck. Out of three wires, I'll only be using one, for the stern light. The other two were for the old radar dome antenna and an external GPS antenna. The wires were being held (if you want to call it that) by what looks like 4200 or similar material. It had worked loose and allowed rain into the aft storage. The hole itself looked to just be a 1 inch hole drilled and there's a couple smaller holes that would suggest a fitting of some sort would have been mounted before. I'm starting to think about putting in a patch of some sort to cover that hole since it's right at a bend, and not a good place for any fitting. Woo Hoo! more fiberglass work!
I'm thinking a cable pass through like a Blue Sea CableClam would be useful. Since the stern has the rudder/tiller and a cleat, I think a good location for a pass-through would be just below the hull/deck joint. Will have to take a closer look as things continue to come together.


While I have been installing new through-hulls and seacocks, I thought to show the process I was using to install the third one for the cockpit drains. I used this process before with the raw water seacock using the How-To website by a user who goes by Maine Sail on sailing websites. For the raw water seacock, I used Sikaflex 291 for the bedding compound. This time, I used 4200 as I had a small tube on hand that needed used before it dried out.


As I was trying to put hoses on the barbs, a couple of the seacocks worked loose already. The pipe tape I used didn't seem enough. I took a suggestion from someone to use a sealant. I then disassembled the valve and hose barb on the installed seacocks, coated the threads with 4200 then reassembled. Don't think they're going anywhere this time.
At this time, I only need to install one more seacock. There's a small shelf next to the hole the old water-lift muffler sat so I may need to make a modified backing plate for it.
I've also removed the rudder, but I'll talk about that next time. I have some things to look into first.
Recent activity include removing the stern rail and the wood that was damaged from the tree that fell on it during Hurricane Matthew. Still haven't had it fixed yet. I took off the pieces, cleaned up the goop that was used for bedding, some of which was still soft, and got it ready for repair. I emailed a shop nearby about getting it fixed a couple weeks ago but no response. I'd visit the shop, but they're only open during the week and I'm only able to visit the boat on the weekend.


 |
| bent leg on the rail (left side in picture) needs straightened |


 |
| Weird seeing the stern without the rail. |


 |
| this is showing the hull/deck joint. |

 |
| Really need to do something about those wires going through the deck. |
I'm thinking a cable pass through like a Blue Sea CableClam would be useful. Since the stern has the rudder/tiller and a cleat, I think a good location for a pass-through would be just below the hull/deck joint. Will have to take a closer look as things continue to come together.


 |
| brown bedding material was still soft and pliable. |


 |
| the metal fitting was removed from both sides for easier removal of the wood. Will get cleaned up too. |
 |
| Transmission now mounted |


 |
| Just thought this was a nice view when coming out of the quarterberth |

While I have been installing new through-hulls and seacocks, I thought to show the process I was using to install the third one for the cockpit drains. I used this process before with the raw water seacock using the How-To website by a user who goes by Maine Sail on sailing websites. For the raw water seacock, I used Sikaflex 291 for the bedding compound. This time, I used 4200 as I had a small tube on hand that needed used before it dried out.
 |
| complete assembly |
 |
| sanded the area the old seacock was placed, cleaned with acetone |
 |
| added thickened epoxy |
 |
| added the entire assembly and waited for the epoxy to cure |


 |
| through-hull held in with the boat hook. through hull was also waxed before setting up for easier removal |


 |
| 4200 for bedding |

As I was trying to put hoses on the barbs, a couple of the seacocks worked loose already. The pipe tape I used didn't seem enough. I took a suggestion from someone to use a sealant. I then disassembled the valve and hose barb on the installed seacocks, coated the threads with 4200 then reassembled. Don't think they're going anywhere this time.
At this time, I only need to install one more seacock. There's a small shelf next to the hole the old water-lift muffler sat so I may need to make a modified backing plate for it.
 |
| Shelf where old water muffler sat. |
I've also removed the rudder, but I'll talk about that next time. I have some things to look into first.
Subscribe to:
Posts (Atom)