Been a while since I posted but I'm still at it. Had some family visits that kept me from visiting the boat for a few weeks and the other time, I've been slowly making progress.
Recent activity include removing the stern rail and the wood that was damaged from the tree that fell on it during Hurricane Matthew. Still haven't had it fixed yet. I took off the pieces, cleaned up the goop that was used for bedding, some of which was still soft, and got it ready for repair. I emailed a shop nearby about getting it fixed a couple weeks ago but no response. I'd visit the shop, but they're only open during the week and I'm only able to visit the boat on the weekend.
j
j
 |
| bent leg on the rail (left side in picture) needs straightened |
 |
| Weird seeing the stern without the rail. |
 |
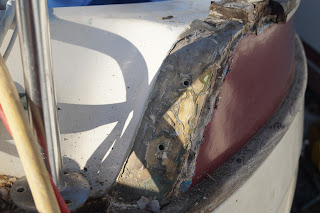
| this is showing the hull/deck joint. |
 |
| Really need to do something about those wires going through the deck. |
This picture above, you see the wires coming up out of the deck. Out of three wires, I'll only be using one, for the stern light. The other two were for the old radar dome antenna and an external GPS antenna. The wires were being held (if you want to call it that) by what looks like 4200 or similar material. It had worked loose and allowed rain into the aft storage. The hole itself looked to just be a 1 inch hole drilled and there's a couple smaller holes that would suggest a fitting of some sort would have been mounted before. I'm starting to think about putting in a patch of some sort to cover that hole since it's right at a bend, and not a good place for any fitting. Woo Hoo! more fiberglass work!
I'm thinking a cable pass through like a
Blue Sea CableClam would be useful. Since the stern has the rudder/tiller and a cleat, I think a good location for a pass-through would be just below the hull/deck joint. Will have to take a closer look as things continue to come together.
 |
| brown bedding material was still soft and pliable. |
 |
| the metal fitting was removed from both sides for easier removal of the wood. Will get cleaned up too. |
 |
| Transmission now mounted |
 |
| Just thought this was a nice view when coming out of the quarterberth |
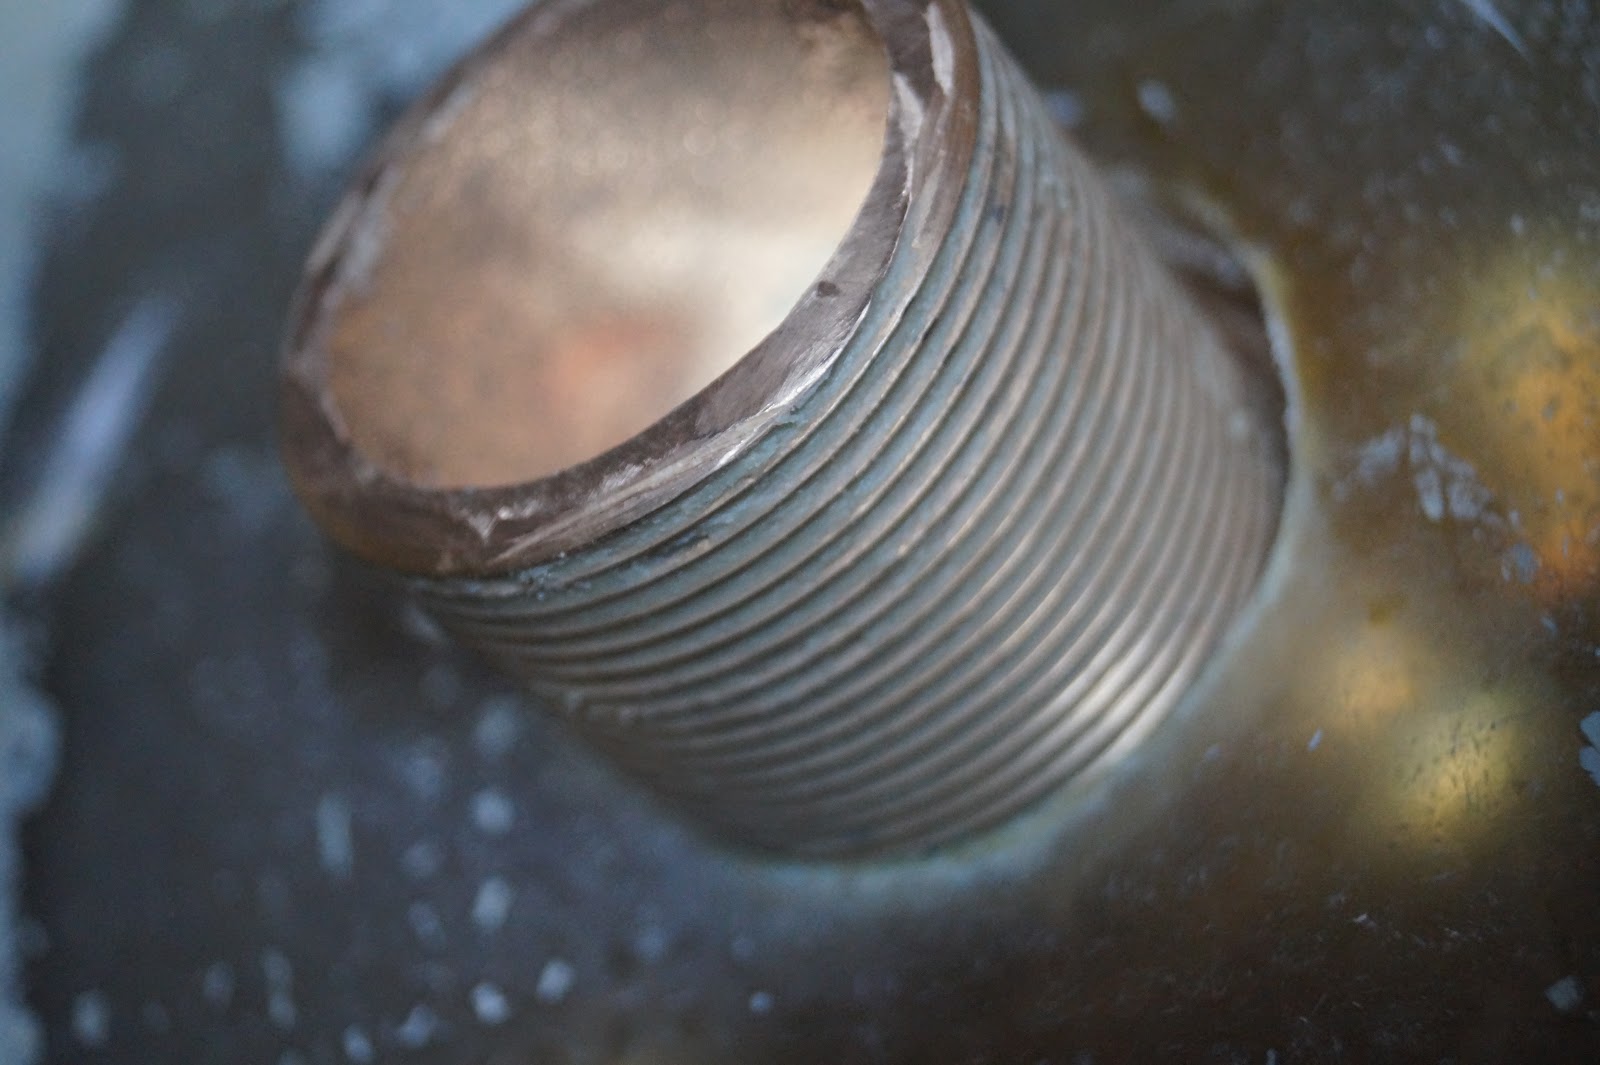
While I have been installing new through-hulls and seacocks, I thought to show the process I was using to install the third one for the cockpit drains. I used this process before with the raw water seacock using the
How-To website by a user who goes by Maine Sail on sailing websites. For the raw water seacock, I used Sikaflex 291 for the bedding compound. This time, I used 4200 as I had a small tube on hand that needed used before it dried out.
 |
| complete assembly |
 |
| sanded the area the old seacock was placed, cleaned with acetone |
 |
| added thickened epoxy |
 |
| added the entire assembly and waited for the epoxy to cure |
 |
| through-hull held in with the boat hook. through hull was also waxed before setting up for easier removal |
 |
| 4200 for bedding |
As I was trying to put hoses on the barbs, a couple of the seacocks worked loose already. The pipe tape I used didn't seem enough. I took a suggestion from someone to use a sealant. I then disassembled the valve and hose barb on the installed seacocks, coated the threads with 4200 then reassembled. Don't think they're going anywhere this time.
At this time, I only need to install one more seacock. There's a small shelf next to the hole the old water-lift muffler sat so I may need to make a modified backing plate for it.
 |
| Shelf where old water muffler sat. |
I've also removed the rudder, but I'll talk about that next time. I have some things to look into first.