Showing posts with label Epifanes Varnish. Show all posts

Sunday, February 24, 2013

REFIT Plan: Exterior Teak

The Plan:

With the use of a scraper, some teak cleaner and brightener, I plan to scrub any exposed exterior teak to freshen in up to get ready for varnish.

I know many people that would say to leave it go grey because of all the work involved to varnish. I like the look of varnish. The previous finish got a little worn and fell apart. I'm thinking if I can get a good base to start with, it should be easier to maintain. From how I heard what CETOL looks like, I suspected that it was used before. My suspicions were correct when I browsed through an old maintenance book. I like the look of the Epifanes varnish I'm using for the handrails and will continue with that.

The bowsprit and stern will need some more cleaning off of the old varnish more than the sides but it'll all get a good scrub.

While I did the handrails, mainly because they were leaking inside, I'm looking at doing the rest during the refit period but I could just work on it slowly over time.

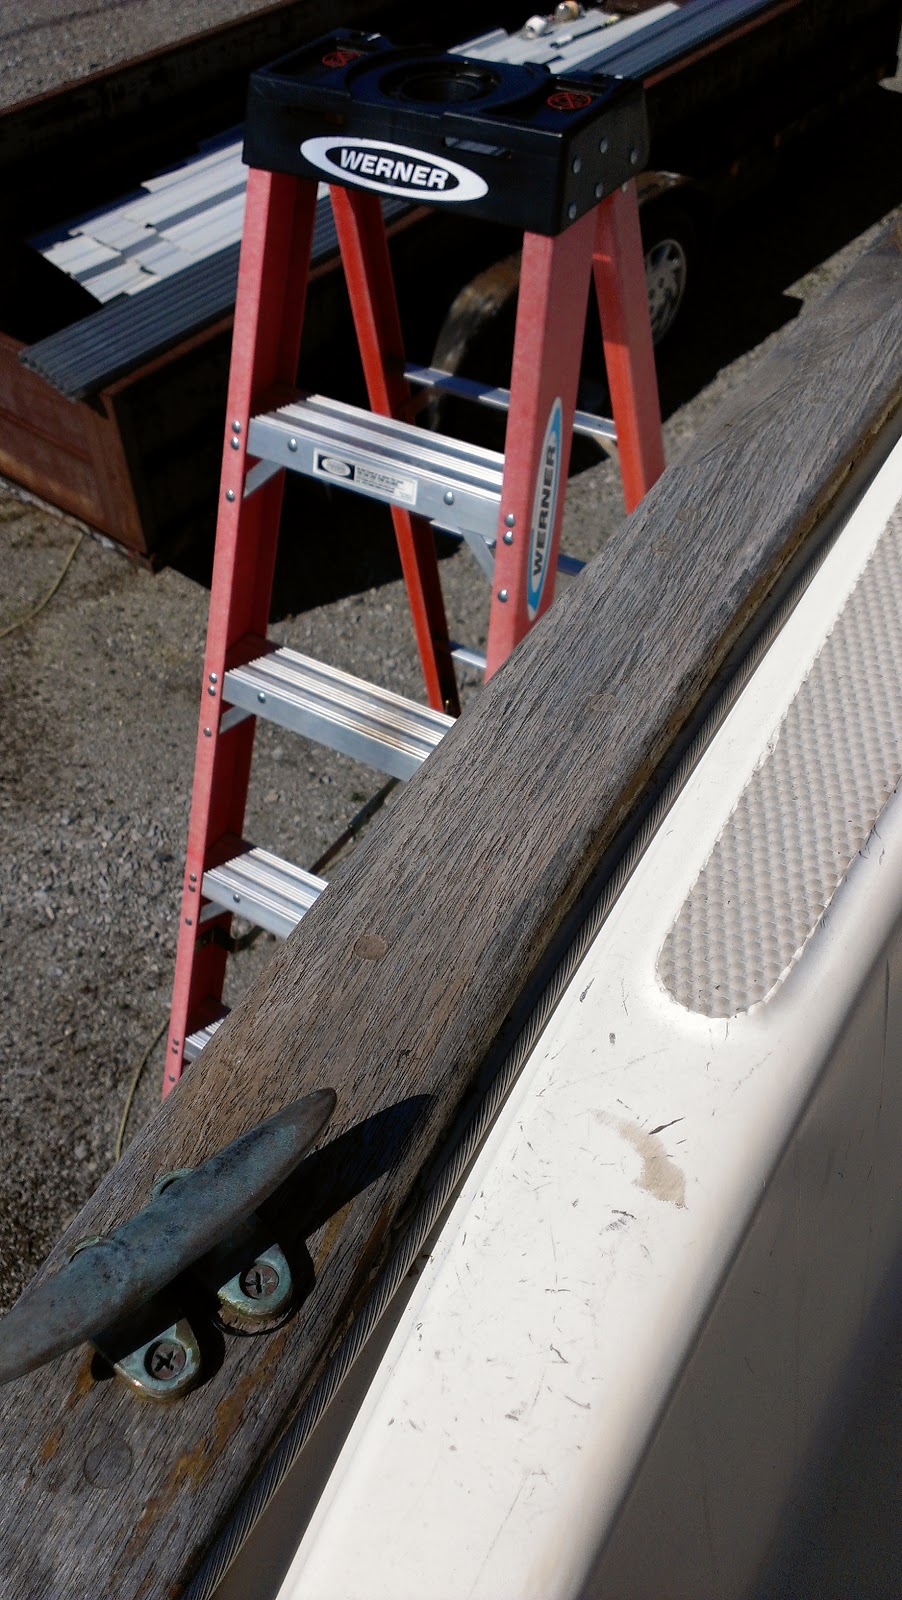
There are some spots, that can be seen in pictures, where the plugs have popped out. The intention is to plug them up again and hide the screws. There is also places where it looks like caulking could be replaced as well.

This is the stern, flaking off.


Hatchboards for the companion way.


Calking needs replaced.


Some holes need re-plugged.

Sunday, November 11, 2012

Varnish Part... (Nevermind)

I started a college class this past week, English 102, that will last until end of December. I'm not too crazy about it but if I'm ever going to get a degree, I need it. So, this leaves less time for boat related work (or anything else for that matter). But I'll fit it in some how.

Yesterday and today, I painted the starboard side handrail and I think I built enough varnish on it to be even with the port side. I started the port side before so I was working on getting them even now. To me, it looks like I got enough to build them up a few more coats without using mineral spirits to thin out the varnish, then I should be done with them. Then the tricky part of mounting them back on the boat.

Between the varnish work I did yesterday and today, I went through the same process. The weather was nice to work on it on the back deck both days. I sanded down the handrail with 220 grit sand paper then used my small shop-vac to vacuum up the dust. The varnish was still cut a little with mineral spirits, what I had left over from the other day. I applied varnish down the whole handrail. I measured it the other day while it was sitting in the living room. This rail is 11 ft long. By the time I got to the end of the handrail, I checked where I started and it was already drying. It wasn't just sticky but actually dry to the touch. I decided to apply another coat and let it dry. When this second coat dried to the touch, I moved it to the living room to dry the full 24hrs recommended on the varnish can. All of this, each day, probably didn't take more than 30 min to do.

Like I said, I did the same process yesterday and today. I'll get another few coats of straight varnish and it should be ready for the boat.

Here's pictures to show how it came out. I really like how the grain shows up on this handrail since I did use teak cleaner/brightener.


And this is showing it spread out in the living room. The wrenches hold the rails up by its bolts while it drys for the full 24hrs. The other pieces shown are the port side rails (came in two pieces) that are laying down waiting for the next coats of varnish.

Saturday, September 29, 2012

Drill Time

I finally got to Rhapsody today. As noted on a previous post, I had a bolt that didn't want to come out of the starboard handrail. I was going to use a fine tooth saw blade like used on a hack saw but that didn't really work out. I went to the hardware store and bought a small 12v cordless drill. The bit I used was as big as the threaded part of the bolt so it wasn't oversized. I drilled from down below where the head of the bolt was at. Once it went through the head enough, I used a screw driver and popped the head off. I went back to the top and pulled the handrail right up. It was easy, I should have tried doing that earlier.

Now I have the handrail at the house, along with the other two pieces from the port side for sanding and refinishing.

My goal with the handrails is to scrape off the old varnish, refinish with several coats of fresh varnish then rebed the rails back on the boat. As of now, I'm looking at bedding down with butyl tape. Once this is done, then I can get a survey, insurance and take it up to a marina where I have reserved a slip.

Here's a picture of the bolt after I popped the head off and a picture of the whole bolt after I removed the whole rail.


Saturday, August 25, 2012

Handrail Removal

I decided to do a video this time showing my removal of the handrails.


One of the bolts I could not wedge the nut to loosen and I stripped the head trying to get it out. Now, it looks like I'm going to have to resort to drilling out the bolt or get a small fine tooth saw blade and cut the head off so I can remove the rail.

The rails I did get off are now at the house so I can refinish and prepare them for reattaching to the deck. So far, things seem to be going well. Just need to get that one bolt out so I can get to work on the other handrail.

Considering the bolts are phillips head, I'm now considering the possibility of changing them to a hex head. I wonder if that might make it easier for removal in the future, if it was needed. Either way, as long as things get bedded down good in the first place, it should be good as it is. If I'm going to drill out or cut the one bolt off, I'll need to find a replacement anyway for that one.

Saturday, August 18, 2012

Teak handrail work

For the first time in a long time, I have a birthday on a day that I'm NOT working (as in, paid employment). Yep, today I'm 34.

It was a nice day today, and being a weekend, I decided to go do some work on the boat.

I've been looking at the teak handrails for a while and doing a little work to rebed them to prevent additional damage to the interior. I guess you could say that today I had a crazy moment and decided to ruin the nice handrails down below, gut out the plugs and unscrew everything so I could get to the bolts holding down the handrails on the top.

Here is the nicely finished plug down below.


And here's how it looked after I took one of them out.


Everything was going pretty well. Still, it wasn't easy. My hand are hurting from trying to chisle everything out with screw drivers without causing too much damage during the removal.

One of the plugs on top had to be removed in order to stop a nut from spinning with the bolt.


I ended up having to use a painters spatula to wedge it to keep it from moving. At the same time, I was reaching in from below through a port hole to unscrew it.


Here's the handrail sitting in the cockpit.


It'll take some cleaning up to do before I put the handrails back on. These, I can bring back to the house to pull the old varnish off without having to go out to the storage place to work on it at the boat..


Unfortunately, The handrail on the other side was not as cooperative. There were three small handrails down below that I had to chisle out the plugs to get to the screws. Even then, When I worked on the bolts to detach everything, I have one that is spinning freely like the one I mentioned above and three of them are pretty tight and don't want to move and will require a bit more work to get it off. Since I wasn't feeling up to staying at the boat any longer, I thought it best to try again another time, probably next week. All together, I probably spent about 5 hours on all this today. It is not easy work cleaning the plugs out of the handrails.

Another reason I decided to do all this is so I can rebed everything rather than focusing on just where I see damage. This seems to be the first time they will be rebedded in 30 years or so. Then, I have to decide, do I use Butyl tape or Lifecaulk to rebed everything, as this is what I have on hand. Or, as others on the Nor'sea owners group seem to love, Dolphinite, which I also have on hand. I'm not sure of Dolphinite as it seems to have a more fluid consistancy that I expected. I first thought it would be similar to the butyl putty feel to it.

Time to consult the group. Thanks for visiting.

Friday, August 17, 2012

Things considered

I went to the boat today to drop off stuff I had laying around the house.

Since one of the things I was looking at doing involved the compass, I took a picture of it. The lens has a bit of a haze but looking at it again, it might be the liquid(?), I don't know. It can still be usable as is.


As with my other posts regarding the varnish work and the handrails on top needing rebedded, I took pictures of all the spots showing water damage. While a couple spots is only a screw head, there are other spots that are by interior handrails. I'd hate to ruin the varnish work of the interior handrails but I think I'd have to get to them anyway so I can loosen up all the rails so I can rebed the top side rails for better protection against additional water damage.


Friday, July 6, 2012

First Varnish

It's been a while since I visited Rhapsody. Today I decided to check in on the boat. Things looked good. I took the piece of the handrail that I removed from the top side and decided to do something with it. I first did a little sanding but not much. I was looking in a book that after any sanding was done, it could be wiped down with mineral spirits and could be ready for varnish.

Here I wiped it down and could see some of the grain showing through. Nice hint of what it would look like with varnish.


I put a couple screws into the handrail to prop it up with wrenches while it dried.


I went ahead and applied a little bit of varnish, mixed 50/50 with mineral spirits.


This is the Epifanes varnish I used.


Before I left the boat today, I moved the handrail to the countertop down below. The Epifanes can says to allow to dry 24hrs between coats. I tried coating with a couple coats before I left. Hopefully it will turn out nice and I can add additional coats whenever I visit again.

Monday, May 28, 2012

Memorial Day

Today was a nice, sunny, HOT day. It got to around 95°F today. Since it was a day off for me, I decided to do some work around the boat. I think I got there around 9:30-10am and didn't leave until 3pm. I had a 3 liter bottle of water with me that was quite warm by the time I left.

I wanted to get the standing rigging out of the house so I took it to the boat. I finally got to replacing the fore stay. It was needed since a connector was cracked in 3 places including one of them broken all the way through.

I first layed the furling track and new wire together to get the length right.


Since I was working on getting the threaded end on the wire, I first took it and inserted it into the Harken furler drum to see where it is seated when tightened. I put the old threaded stud into the broken connector while still on the line so I could mark where to cut.


Once I got the hacksaw out and did some cutting, things went together pretty quickly. Feeding the new line through the track wasn't too bad. I only had to twist a little to get it through. I think it turned out ok but the main test will be when it's all rigged up on the mast when I get Rhapsody into the water. That's when I'll start to worry.


Here is the connector that I took off the old line. I made sure to hold it where all the cracks are seen. Obviously, not something to keep around.


For a while, I had the boom at the house sitting on the deck in the back yard. It was wrapped in plastic but I took it all off so I could take a good look at it. Today, I took it back to the boat and layed it on top of the main sail down below.


I took a look over the mast itself too. I was sorting through which lines when to what and where. Looking at the mast head end, it looks like I could add a couple more lines but I think what I have now is sufficient. There's a line for the main halyard, jib halyard (used on the furler), and a line for the inner fore stay. There's another line I've been trying to figure out for a while and I think I figured it out today as being a boom lift. Looks like it can be adjusted. There's some sort of think plastic line on it that I'm thinking to take off as it looks to just get in the way.

I decided to finally get to the stuffing box again. I ordered a couple packs of the flax material. I only used one so the other can be back up for the future. Here I had a few supplies i thought I might use.


As I showed earlier, I took out 4 pieces of the old flax so I worked to put 4 back in. It was not easy to work in such confined space for me or the flax. Eventually, I got them all in there, tightened the nuts and this will be another thing to watch out for when Rhapsody gets into the water again.


I took it easy for a little while to do some sanding of the hand rail I took off so I could reseal. I'm looking to rebed with LifeSeal caulk. I looked at the areas down below considering to take the other hand rails off to sand and get ready for new varnish. All the interior hand rails are plugged up and nicely varnished and I'm not too crazy about ruining the finish. I'll have to take a close look to see what I can do to reseal other areas of the rails.

I think this piece turned out pretty good. Now, I need to figure out if there's anything else I need to do to prepare it for new varnish. Since I have time to scrape and sand other areas, I'm open to suggestions on how to proceed.


Not today but the last time I was working on Rhapsody, I decided to pull the trailer out a little. The back tire was next to a retaining wall to a pit. The main reason I wanted to pull it out was so I could get behind the boat a little better with the ladder so I can do some more sanding. The mast is also no longer hanging out over the pit either and is easier to reach. I think overall I moved it about 5 feet forward.


Since Rhapsody is likely in need of a new paint job before going sailing, I'm almost thinking of scrubbing the hull with a green scrub pad (normally for cleaning dishes) while it's raining. Since it's summer, the rain will be a little warmer. Just have to watch out for lightning.

I hope everyone had a good Memorial Day!

Friday, May 25, 2012

Work Continues

I finally got to go to the boat today and did a little bit of work. I had ordered some LED lights and installed them. The lights with a G4 connector had pins that were a bit long so I cut them in half and fit much better.

I took apart a winch to see its condition. It's in need of some cleaning.


I think it needs some adjustment but I have to look closer. As it's turned, there's a spot where it gets a bit tight for a moment then spins freely again. I wiped off a couple spots but will have to do a full cleaning later. For now it functions but there's a bit too much dirt. The smaller winch, Harken 8, will also need cleaning. I'm still trying to figure out how to open up the Barient 19 winches but there's no screw in the middle of the top.

I wanted to check out the hand rail on top since one of the bolts is loose. I decided to take the whole piece off and noticed that it looks like some sort of clear caulk was used.


I accidentally took a piece of wood out while trying to get a washer out of the groove it was in. This spot looked to be slightly damaged from a leak but doesn't seem all that bad.


Here, you can see I took the whole handrail off and found a bunch of the clear caulking again. I have some white LifeSeal caulk that I can use to seal it up when I replace the rail. I'm thinking to take off all the rails to rebed them.


It'll take some cleaning up to get the old caulk off. Since I took the whole rail off, I decided to bring to the house so I can get the old varnish off and get it ready for varnish, whenever I get to that part. The area that is exposed is covered by a tarp. If I do take all of them off, I'll have to get another tarp to make sure I cover the rest. So far, it doesn't look like it'll be that bad of a job.