Showing posts with label standing rigging. Show all posts

Sunday, August 11, 2019

Mast Decisions

Over the last couple weeks, I have been looking at how I can at least get the mast up. Other owners are able to raise their own masts. I happen to have a video on the boat made by another owner. Have watched it several times over the past week alone.

Got some clevis pins and test fit one of the spreaders.


Before deciding to try self-raising the mast, I was talking to the manager at the marina about it and for them to do it, the boat would have to be in the water and they use a forklift to lift the mast.

ok.

I figured, I now have the last seacock installed on the boat. Maybe if I can get it to FLOAT long enough, I can get the mast up. I pulled out the shaft and coupler hardware to install that to the engine... But, it didn't line up. Great, now I need someone to help align it since it's pretty far off. Well, I'll figure that out later. This is where I seriously considered raising the mast myself.


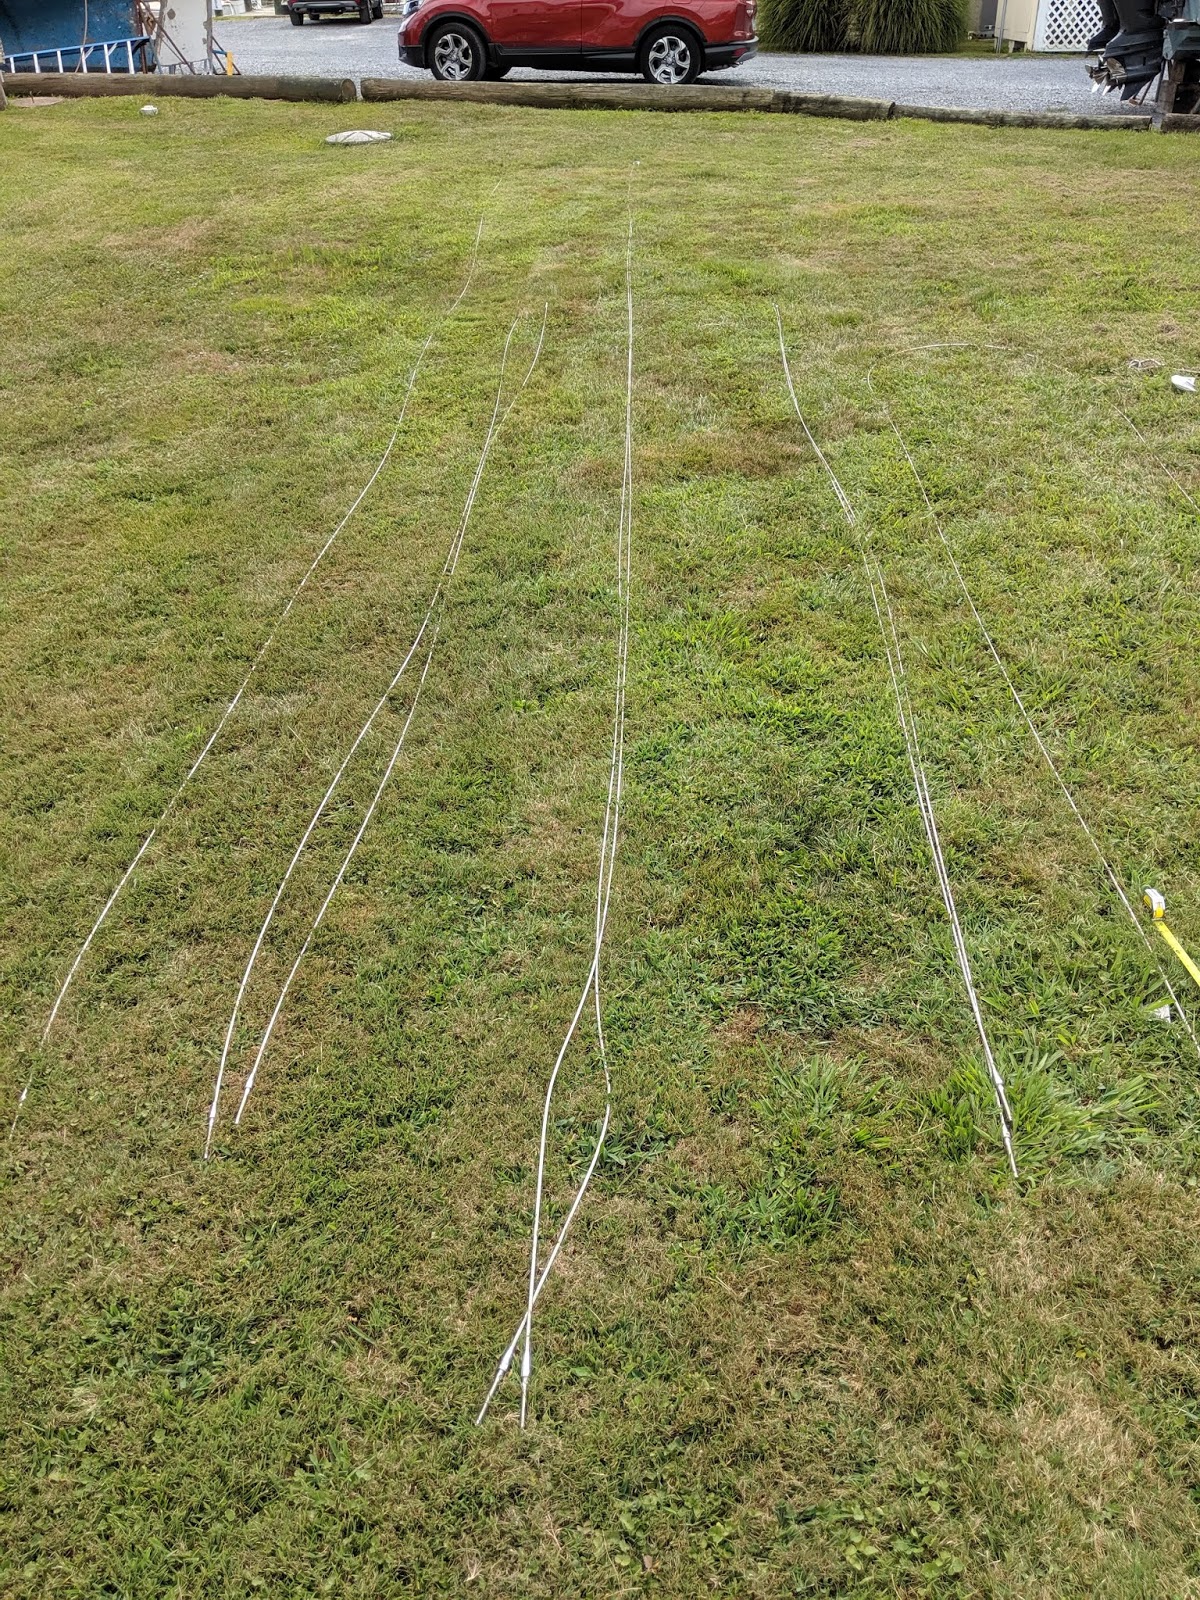
Back to the mast. Yesterday, I looked around at it. Pulled out the standing rigging to lay it all out. The main part of being able to raise the mast seems to be a modified shroud. I just need to shorten the long shroud to the level of the mast step tabernackle and add a shortened piece below it to the chainplate. Sounds easy enough but will take some planning. I looked at the video a few more times in the boat.

Aside from needing to modify the shroud, I will need to come up with a holder for the mast at the bow rail. Others have used bow rollers, but the one's I've seen are pretty expensive. I'm looking into plywood, at least for now, that can hold the mast at the bow, and prevent it from wanting to roll over.

Took some measurements around the mast bottom. I also took a turnbuckle and a triangle plate I luckily found locally and set it out trying to visualize the mod.


turnbuckle to the chainplate, triangle plate to the pivot point

Here, I'm just trying to get an idea of how I would do this. And, where I would cut. I also looked at the turnbuckle trying to decide how much slack I should put in it. With it opened up, it was about 11 inches, but with all the threads in the turnbuckle body, it made it 3 inches shorter. Maybe I could have it 1 inch shorter and that could give me some room to tune the rig when it's up. I tried measureing the chainplate to the mast step height difference, but may need to do it a couple more times, just to make sure I cut the shroud at the right place.



picked a point on the turnbuckle, came to about 11 inches

pushed the wires in, to get this measurement and something flew out and stung me. Not too bad, but it hurt for several minutes. I was getting an idea of size for bow support.


Ordered some hardware for the modification. So, until I get that and look over things some more over the next couple (few? several?) weeks, I won't be doing too much with the mast. Hopefully this idea goes well.

Saturday, August 2, 2014

Some Dis-Assembly Required

Part of this refit is to break things down in order to build it back up again.

I'm looking at doing a few things at the same time. I want to repaint the blue near the toe rail to a dark red. Not sure what type of paint to use yet. I've looked at Interlux Brightsides, Pettit Easypoxy, Awlgrip and whatever else I can find. Brightsides has "Fire Red" but to darken, would require some mixing. Awlgrip and Easypoxy has dark red and due to costs, I'm leaning toward Easypoxy, unless I find something else or a different kind is suggested.

In order to prepare for this, I removed the name off of the port side, not yet on the starboard. There was a sticky residue left over after I scraped off the letters. I looked up online what could be used and saw something about acetone. I tried it and it cleaned it up nicely.


sticky residue left behind after scraping

after acetone cleaning

I also used an electrical palm sander a little bit. There was a spot that sanded through to a darker color underneath and a spot that was chipped. I'll have to sand down some more but not sure how far to go at the moment. What ever was used for the current color, there was a little bit of a reflection on it. I might sand it smooth, put on some primer and put whatever I get over it. With a new color, I can then add new set of letters for the name, whenever I get some.

Sanded through to a darker blue

I plan on replacing the chainplates. Not because they're bad. Actually, they don't look too bad but they're old and for preventative measures it's good to make sure they're updated. Removing them from the hull sides, it will give the repainting an even surface.


Removing stern chainplates
The sides were not as accessible. I had to remove the panels to get to the bolts for two of the side chainplates. The same way on both sides. The big washers on the sides were epoxied into place so they're not coming off. After getting the chainplates off, I just needed to scrape some of the caulking that was used off the boat and the chainplate.


The third chainplates on each side will be a bit more difficult. The panels are not setup in a way to pop off or slide out of the way. Looks like I might have to cut away some of the paneling and add some trim to hide the cut. At least that's an idea I have. One side, I have the galley and the other side, I have the nav desk. The panels behind each extend behind another piece of wood or bulkhead. So creativity is needed.


Overall, I got the two stern chainplates and two from each side off. I still have the third chainplate on each side and the one on the bow to remove.

So, some disassembly required.


Friday, June 21, 2013

She Floats!

I went to the marina right after work to check on how things were going with the boat. I showed up and saw the boat wasn't on the stands where I last saw it. I went over towards the travel lift area and saw this.


I am very happy seeing the boat floating. It was nice to see the mast in the air with the standing rigging that I replaced. It was also good to see where she was sitting at the water line.


I think the yard is still doing some final touches so I didn't want to move it yet. Since they don't work on the weekends, I'll have to check on Monday. Once I can move it from the yard area, I'll stop by to the fuel dock then to the slip.
 
They did a pretty good job on some gelcoat repairs. After a year of ownership, I will soon be able to get out on the water to test things out and enjoy some nice weekends.

Friday, May 24, 2013

Memorial Day Weekend

Yesterday after work, I went to the storage place and moved the boat to another part and strapped it down for transport. I got a strap and wrapped it up over the boat attaching it to the trailer.


Today, I got up early, hitched up the boat to the truck and got on the road to the marina. The marina is called Green Turtle Bay which also has some cabins/houses for rental and lots of large motor boats, house boats and some sail boats. The marina opens up to Lake Barkley in Kentucky. The marina is about an hour away from where I live. I arrived there around 8am.


I had to wait for the overall manager to come by to talk to then they got it strapped up on the travel lift and lifted it off the trailer.


My boat is dwarfed in comparison to the other boats they had in the yard. This one is called a Sea Ray 52 Sundancer.


anyway, once it was sitting in the travel lift, it was moved out of the way and then the workers got the mast off the trailer and set it up on stands for setup.


By then, it was lunch time. I walked to the other side of the marina to the little restaurant and got a burger. I went to the dock where my boat will soon be and found a guy working on his boat that he got together with his dad and looking at going through the rivers down to the Gulf. We talked for a while then I walked back to the yard just in time to see one of the guys spraying down the bottom getting the old layers off and getting it ready for paint.


It was a beautiful day today and I spent most of it there at the marina. My arms, face and neck are not just red, they're glowing. Still, I enjoyed my time and it's exciting to see the boat getting closer to the water. The yard is also going to setup the mast and check a couple other things for me and it may be in the water in a week or two.

This will be the first time it's been in fresh water and possibly the first time it's been off the trailer in maybe a couple years.

I got to see lots of turtles floating around in the water or others, like these two, that were sun bathing. Usually, they would dive quickly when I walked nearby.

Friday, March 29, 2013

New Gear: Mast Mate

Mast work is one thing I've been looking at with a cautious eye since I started shopping around for a boat.

I used to have an Amateur Radio tower with a height of 77' in my backyard at my last house I had. I'm used to climbing the narrow tower at that height. Of course, being firmly set in the ground with 60, 60lb bags of concrete and guy wires attached to earth anchors, it certainly wasn't moving. It had a nice view from the top too.

 
That concrete base is 3' x 3' for size comparison

Now, the idea of getting to the top of a mast I wasn't sure about. I'm expecting there would be a lot more movement at the top of a boats mast than the top of the radio tower. While reading various things around the net, it seemed the main methods used involved another person hoisting someone up. Since I am likely to be doing a lot of stuff around my boat without much, if any, help, I decided to find something for the solo/shorthanded sailor, a Mast Mate.

I've seen it advertised and seemed to have good reviews on some forums. A recent post of SV Sundowner getting new standing rigging showed it in use and I thought that it looked like it would work out well. I went ahead and ordered one that would accommodate my mast. After ordering online, I received a phone call shortly afterwards to finalize the order and it just arrived today. I still have the climbing belt left over from the tower that I can use with the Mast Mate.

Here are a few pictures I just took to show the package I received.


I attached one of the shackles temporarily to show how it is done. Once I order the appropriate size slides, I will attached them all.