Sunday, August 11, 2019

Mast Decisions

Over the last couple weeks, I have been looking at how I can at least get the mast up. Other owners are able to raise their own masts. I happen to have a video on the boat made by another owner. Have watched it several times over the past week alone.

Got some clevis pins and test fit one of the spreaders.


Before deciding to try self-raising the mast, I was talking to the manager at the marina about it and for them to do it, the boat would have to be in the water and they use a forklift to lift the mast.

ok.

I figured, I now have the last seacock installed on the boat. Maybe if I can get it to FLOAT long enough, I can get the mast up. I pulled out the shaft and coupler hardware to install that to the engine... But, it didn't line up. Great, now I need someone to help align it since it's pretty far off. Well, I'll figure that out later. This is where I seriously considered raising the mast myself.


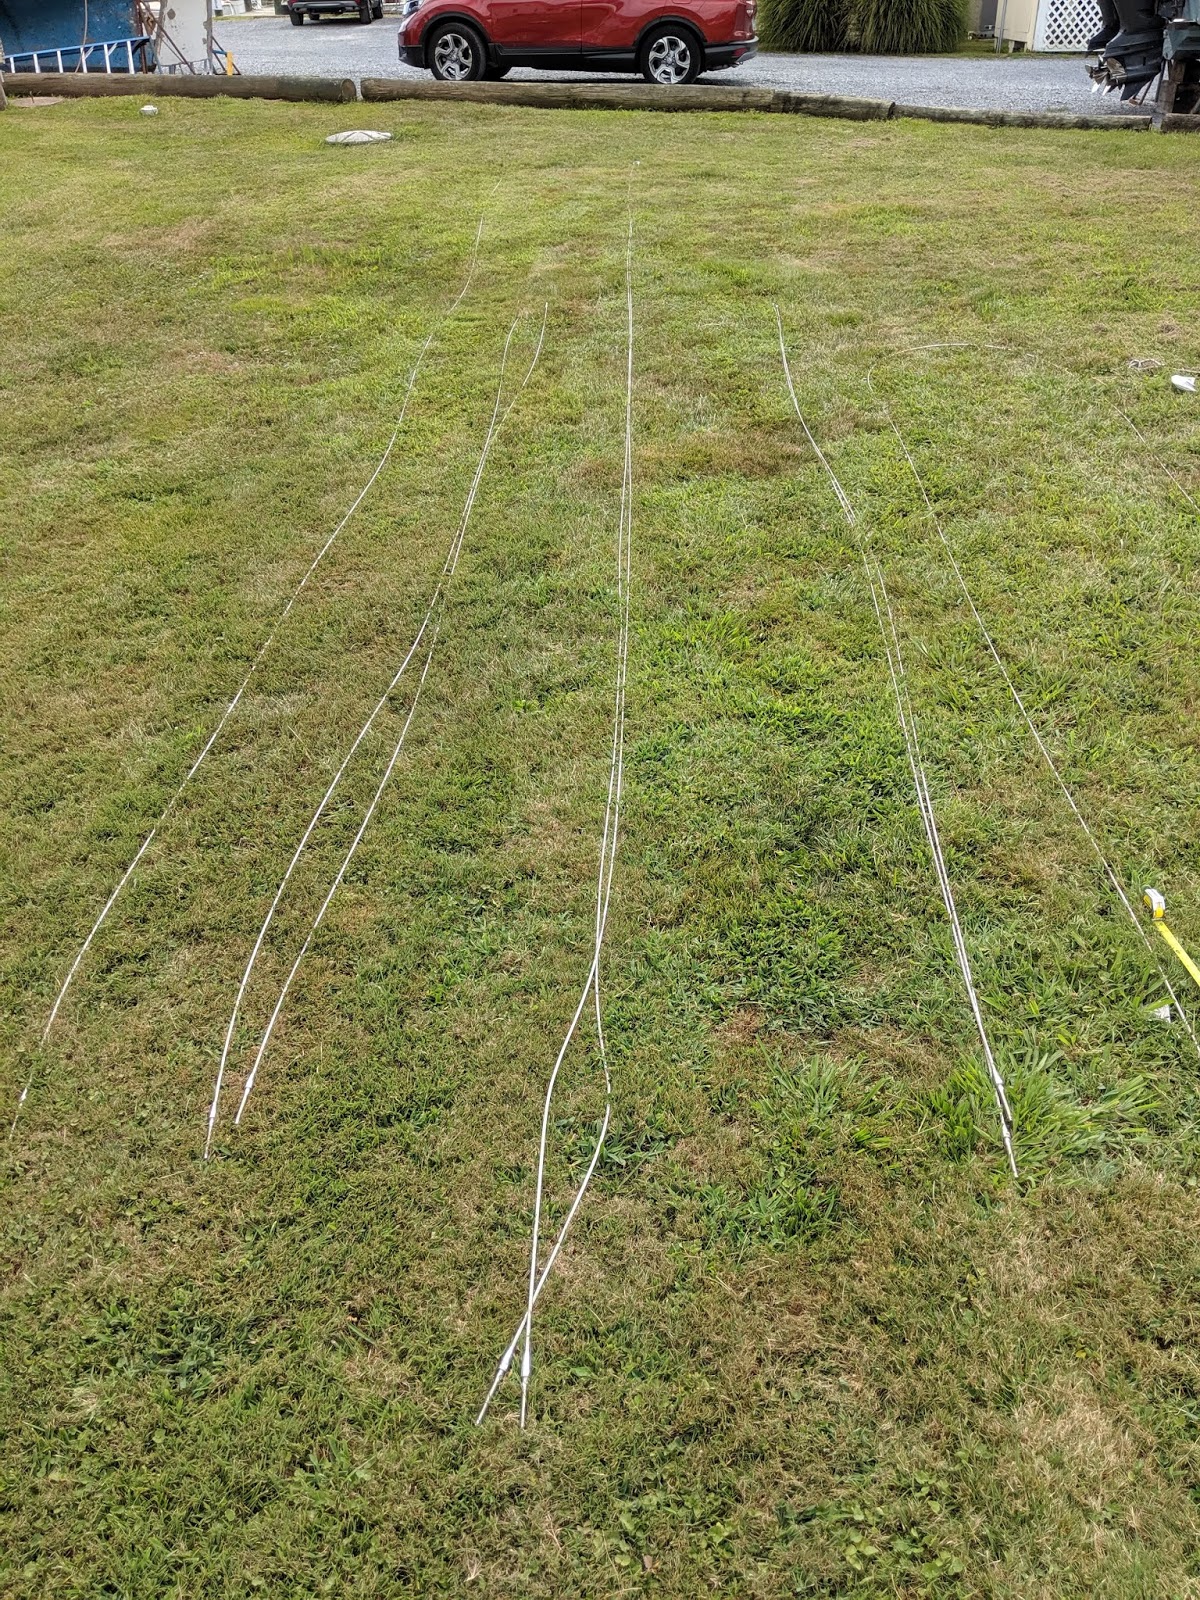
Back to the mast. Yesterday, I looked around at it. Pulled out the standing rigging to lay it all out. The main part of being able to raise the mast seems to be a modified shroud. I just need to shorten the long shroud to the level of the mast step tabernackle and add a shortened piece below it to the chainplate. Sounds easy enough but will take some planning. I looked at the video a few more times in the boat.

Aside from needing to modify the shroud, I will need to come up with a holder for the mast at the bow rail. Others have used bow rollers, but the one's I've seen are pretty expensive. I'm looking into plywood, at least for now, that can hold the mast at the bow, and prevent it from wanting to roll over.

Took some measurements around the mast bottom. I also took a turnbuckle and a triangle plate I luckily found locally and set it out trying to visualize the mod.


turnbuckle to the chainplate, triangle plate to the pivot point

Here, I'm just trying to get an idea of how I would do this. And, where I would cut. I also looked at the turnbuckle trying to decide how much slack I should put in it. With it opened up, it was about 11 inches, but with all the threads in the turnbuckle body, it made it 3 inches shorter. Maybe I could have it 1 inch shorter and that could give me some room to tune the rig when it's up. I tried measureing the chainplate to the mast step height difference, but may need to do it a couple more times, just to make sure I cut the shroud at the right place.


picked a point on the turnbuckle, came to about 11 inches

pushed the wires in, to get this measurement and something flew out and stung me. Not too bad, but it hurt for several minutes. I was getting an idea of size for bow support.


Ordered some hardware for the modification. So, until I get that and look over things some more over the next couple (few? several?) weeks, I won't be doing too much with the mast. Hopefully this idea goes well.

Wednesday, June 19, 2019

The Last Seacock

With the last seacock installed for the cockpit drains, I thought I'd show what I did to get it ready.

I have a sheet of G10 Fiberglass board, I used a couple hole saws to cut to size. Drilled holes for the bolts but then drilled out a larger size on the bottom to epoxy the bolts into place. I had a small tube of LifeCaulk on hand and used it to seal the threads. I think I used 4200 or Sikaflex 291 before but it should still work just the same.

One difficulty was having to use a couple wrenches to tighten the fittings together. Having the pieces already together helped for alignment when installed on the boat.


Really not a lot to it. This is the same way I prepared the other seacocks I've installed with new G10 backing boards.

There's sitll a couple old seacocks on the boat. I'd like to get rid of the one in the starting battery compartment. There's also one in the head under the counter top. Right now, if I tried doing that work, It would further delay getting the boat ready so they're going to wait right now.

Tuesday, June 18, 2019

Last Cockpit Seacock

Had another good weekend. Got the last seacock installed for the cockpit drains. Trying to do it myself wasn't easy though. I used the boat hook to keep the thru-hull in place and got the seacock base started on the threads. I then used a zip-tie to attach to another seacock to keep it from spinning. Got out of the boat and tightened the thru-hull down. Epoxy squeezed out from the base, that needed cleaning up. Luckily I was able to do this early in the morning where I could wait the whole day for the epoxy to cure. Unfortunately, I didn't finish curing. The outside of the fiberglass base was solid but when I removed the thru-hull, the center was still pliable/soft. I put the blue drain hose back through the hole for rain water to drain in the meantime. Soon, I'll be able to seal this seacock, and get new hoses on the hose-barbs. The current hoses on the other three are not very secure, at best I was abe to get one hose clamp around the hose.

Other project I wanted to do was attach the anchor chain to the boat. Not sure there was ever a place to attach the chain or rode, so I got a U-bolt, drilled holes to attach it. Then I put a soft shackle I made on it and the end of the chain, so now, when I deploy the anchor, the chain is not all going to find the bottom. The chain is about 140ft, so I could probably cut some of that down and attach some rode. Not sure the rode that came with the boat had ever been used or if it's even good to use.

These two things were projects I've had on my list a long time. I'm happy I can cross off a couple things. A good part of the visit, I was working on the rudder. When I tap on the rudder, there were hollow sounding areas, I cut part of the skin out to get epoxy behind those areas. I plan to post more on this when I have more work on it completed.


Squeezed epoxy into the gap before tightening thru-hull


I may cut the extra length off the threads


Last couple weekends have been pretty productive. I've been able to cross off a few projects off my list. Every little bit helps. Thanks for stopping by.

Monday, June 10, 2019

Electric Bilge Pump Ready

This past weekend was very productive. I got some work done on the electric bilge pump. Everything was previously mounted on a wooden board but got a piece of plastic board and remounted everything on it. The pump is at the bottom, with the float switch just above it. The next float switch, I used a yellow plastic scraper to mount, is for the bilge alarm. At the top, you can see all the wires, it's a relay switch. For the most part, everything is mounted the way the boat came. If you look closely at the closeup of the wiring/relay, you'll see a yellow and brown wire that isn't connected to anything. It was previously wrapped in electrical tape. It goes to the bottom float switch but no idea of its purpose. It's kept tied high from any possible water contact.

I still want to work on the manual pump by replacing the rubber pieces but the screws holding the flappers inside the unit doesn't want to budge. Going to try spraying some PB Blaster to see if that will help loosen things up. Otherwise, there doesn't seem to be much I can do with it.

After the bilge pump, I worked on mounting the base the Airhead is sitting on. All this time I've had the Airhead, it wasn't really secured. I had a small tube of LifeCaulk on hand, put a bead of it around the hole the old holding tank sat in, then screwed down the base. The vent hose was also not attached to the Airhead itself. I haven't used the head yet, so didn't have a need to. I got the hose cut down enough to connect everything together and now it's ready to use.


Didn't get any other pictures, but this is just screwing down the Airhead base. Predrilled the base for the screw to pass through but a smaller hole drilled below for the screw to bite into.


Sunday, May 12, 2019

A Little Bit of Sailing

This weekend was good. I went to the boat, but instead of getting to work on the bilge pump setup, I decided to take my dinghy out on the water. I've had the dinghy for awhile now, but only used it one time. That one time was to row to a liveaboards boat and help apply new name decals.

This time, decided to rig up the two piece mast. There was absolutely no wind when I dropped the boat in but thought I'd go see if I could find some. Slight breeze started and thought I'd give the sail a try. Had to hook up the boom, sail and lines while floating around. But once all setup, I had enough wind to move the boat a little.

I asked a friend of he was coming out to his boat and he invited me to go along with him and his other friend on his Shannon 28. Been awhile since I sailed so I said sure. Rowed over to his slip at the nearby marina and off we went.

Really enjoyed the time sailing in his boat too. I feel like I needed that motivation to get my boat ready to go too.

After the sail, I rowed back to my marina, lifted the boat out of the water and into the dinghy storage. All the other stuff for the dinghy I stored back on my boat. I looked around at some of the work I need to do but it was about time I headed back to the house.

Great day and fun to get out on the water again. Ready for the next visit to get to work.

Ready to go

No wind at first


Motoring out on the Shannon 28


Back on land at the end of the trip.

Tuesday, April 30, 2019

Bilge Pump - Relook

Looking in the bilge again. The auto pump setup is attached to a piece of wood I wanted to replace with a plastic one. I also thought to replace the float switch that activates the alarm as the plastic housing broke. Looking it all over, maybe a couple other things could be worked on too. At the bottom, it looked like there's another float switch, maybe used to activate the pump.

The wiring goes to a little box at the top of the wood piece then down to the float switches and pump. I found out it's just a relay. Maybe there's a way to simplify the setup and remove the relay.

The manual bilge pump isn't really useable now either. I started taking it apart to replace the gaskets but the screws holding the flappers inside it won't budge and will need some more work.


Relay


Bottom float switch went to alarm.
Bigger one was at the bottom of the wood.


Bottom of the bigger switch

Alarm float switch


Down inside the bilge.

Did a quick look online at float switches. They can get expensive. Will research more in the meantime. Best to have at least one working bilge pump if I ever get to launch the boat again.

I recently put in a new cutlass bearing. I think there was only one length for the size I needed and found out this one is sticking out a little. May need to redo this, but maybe it could still work. I don't know yet.