Saturday, March 12, 2016

Fuel Tank Removed


11 March 2016 and the fuel tank was removed. Found a couple holes on the starboard side of the tank and lots of pitting all over. I was also able to remove most of the foam that was holding it in place.


Decided to show some of the cuts I made during the process of cutting the tank out the previous several weeks.


tank popped a bit when this cut was completed.


stack of foam that held the tank in place

What's left for the scrap metal guy

Thanks for stopping by.


Saturday, February 20, 2016

Cockpit Covered & First Cuts

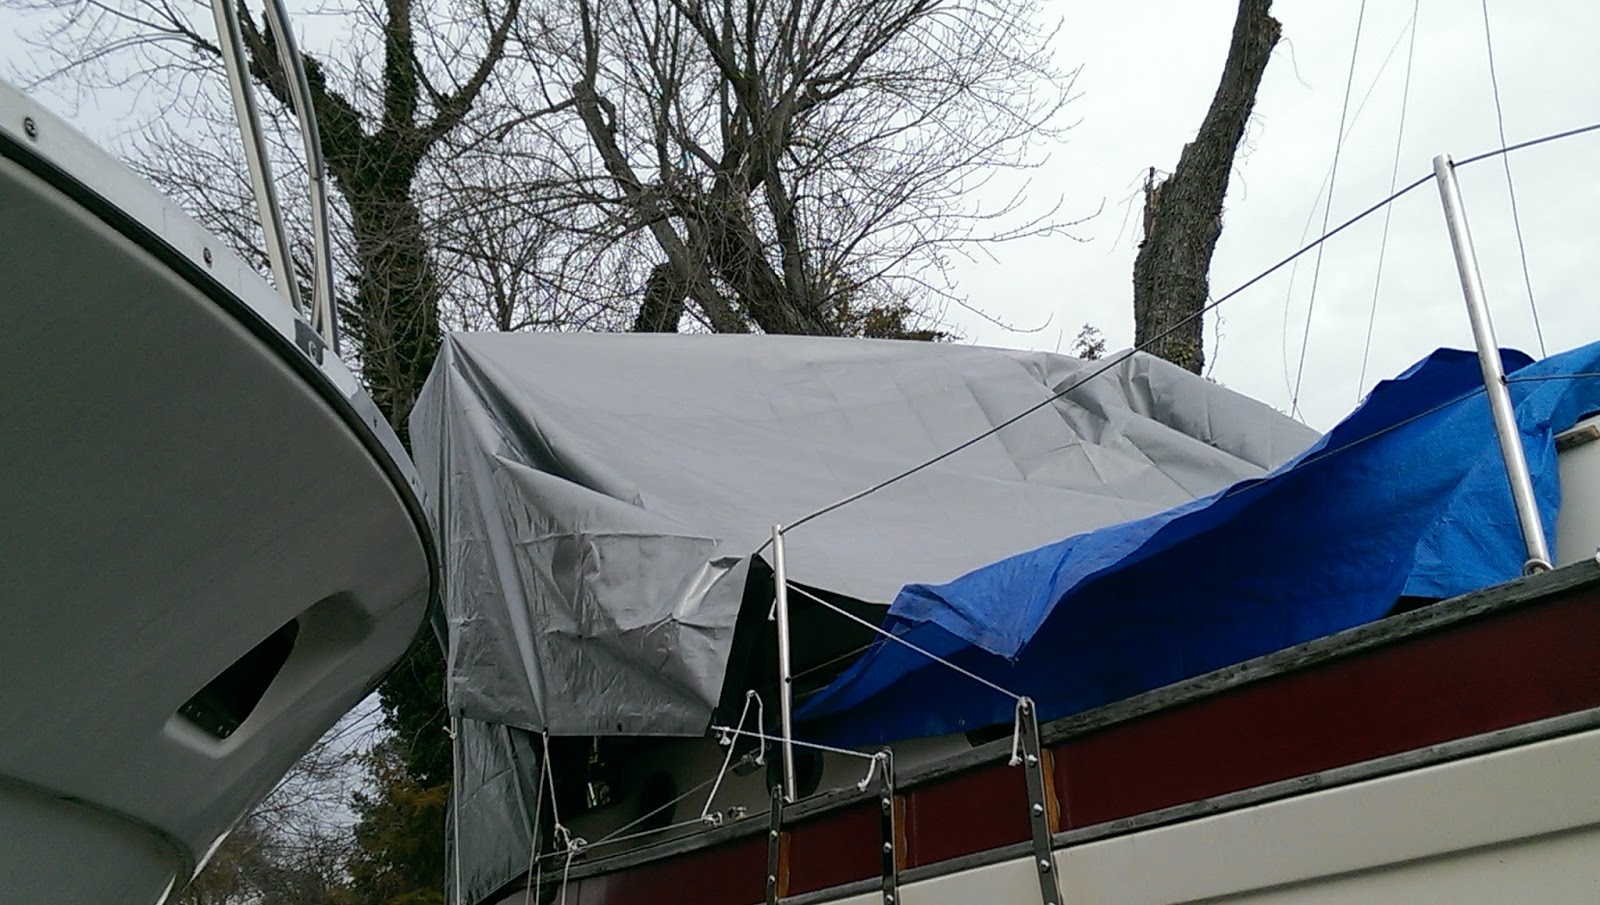
Since I'm working below the cockpit, I wanted to remove the hoses and thru-hulls, that will be replaced anyway, so I can work on removing the fuel tank. To keep water from getting into the boat through the cockpit drains, I needed a frame and cover in the cockpit. Got some 2x4's and made a simple frame and a 12x20ft tarp. The tarp I got wasn't quite big enough, so I had to go to the local hardware store for another. Took a while to setup. Once I started putting the tarp on the frame, the wind started picking up and wanted to blow the tarp all over the place. The sides extend just below the cockpit and there's a small opening by the stern rail, but shouldn't let much, if any, rain in.


The cover isn't pretty, but hopefully it'll work long enough to do what I need to.

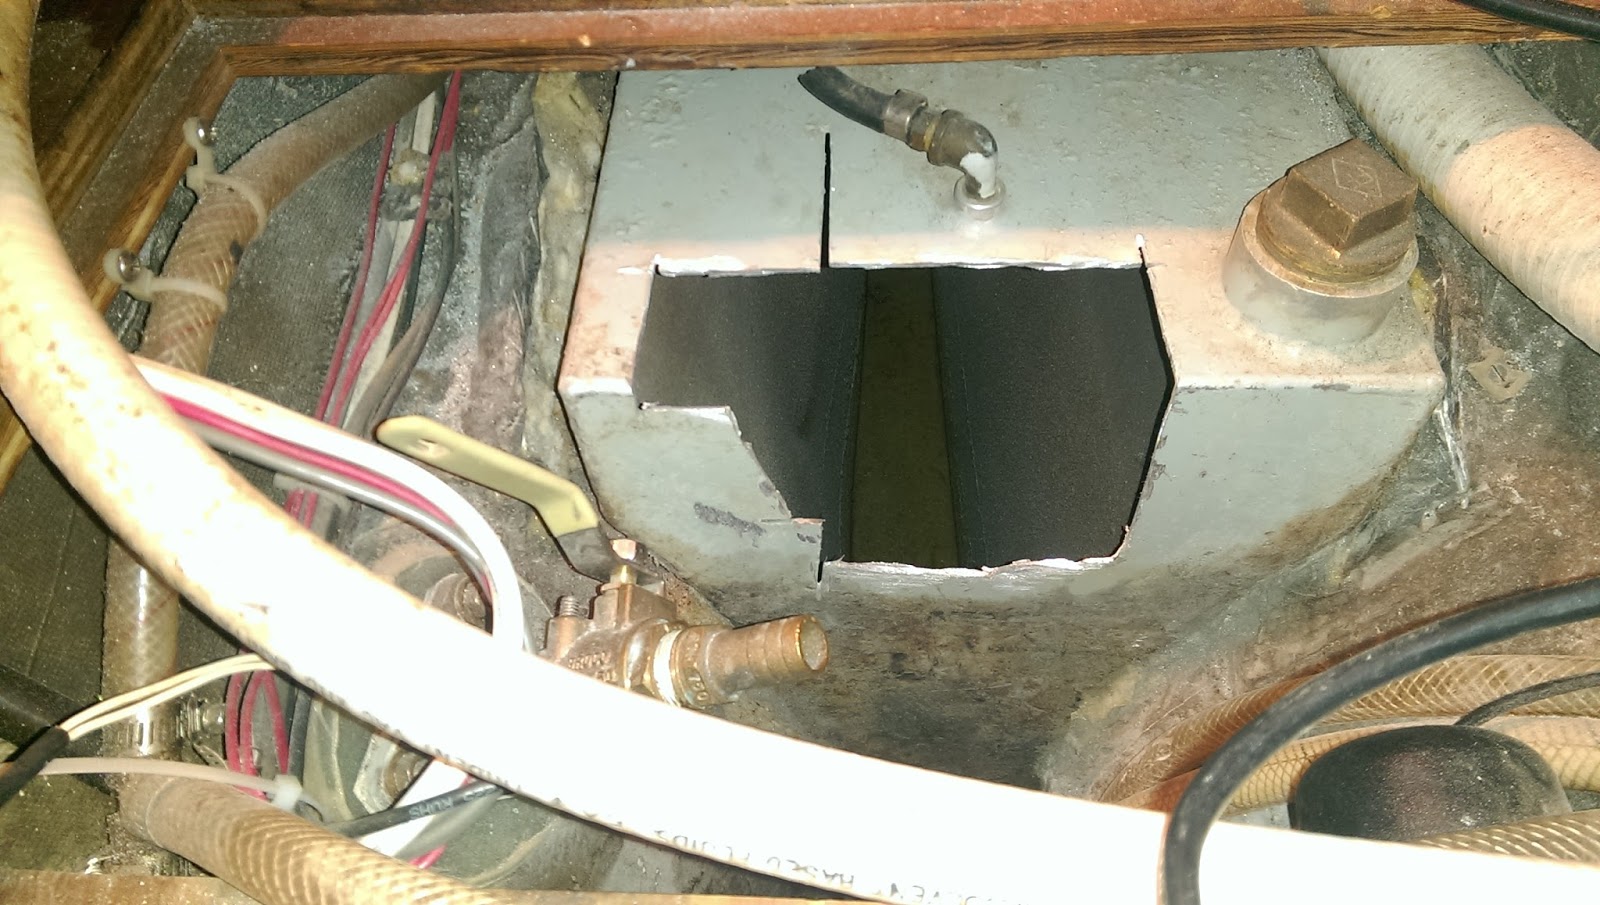
Didn't have a lot of time for the day but with an angle grinder I got from Harbor Freight, I started making a couple cuts into the tank. The first cuts went well, but didn't come off the tank due to the baffle in the middle of it. I made another cut behind it and came off well. Looking at the piece I remove, it appears to be 1/16" thick. I'll try measuring it next visit. From what I've seen online, a lot of tanks are made with thicker aluminum. So long as the cover works well, the tank, hoses, thru-hulls will be removed soon to make space for the next tank.


This isn't the easiest work and not a lot of space to work in, but it should work out all the same.

Friday, February 12, 2016

Fuel Tank Update

Here's a video showing where I am with this project. A LOT of cutting involved and I really hate the foam used to hold the fuel tank in place. Still plenty of work ahead of me but here's the progress I made the last couple of days. This will give anyone an idea of what's involved to replace the tank on one of these boats. Towards the end, the video ended up being shot upside down, but doesn't really mess up what's being shown.


Wednesday, February 3, 2016

Engine Cleanup


Just to show that I haven't given up on the engine at this time. More cleaning up needed. Instead of a bunch of smaller blog posts, I wanted to do one big one for this project, that is still on-going. So here's a video showing a bit of what I've been doing. I've completed the head but didn't show that as I wanted to wait until the main post with the completed engine, and hopefully running too.


Sunday, December 13, 2015

State of the Engine

As I'm looking over the engine, I took pictures to show how much work will need to be done. The main areas of visible damage seem to come from a few sources but that has cascaded into more work elsewhere. As they say, everything rolls down hill. For example, it looks like the gasket for the exhaust mixer failed so that caused rust going down to the zinc below it, likely to the fuel pump below that, and made its way toward the dipstick. I at least haven't seen any water when doing the last oil change, but that was a few years ago by now. That side zinc won't budge right now so some extra work will be needed there.

Another area at the back at the aft zinc (there's only 2 on this engine), there's some oil there. I believe this is from the failed valve cover gasket that I had fixed before. That zinc cap won't budge either. I have PB Blaster I can use to see if that will help.

Water had previously leaked from the engine panel down to the top/front of the engine. That shouldn't be too bad, but will still need some cleaning up. The thermostat cover seems to have had a leak before too, and I'm looking to replace that and the mounting bolts/gaskets and maybe the thermostat itself. Another Nor'sea owner suggested I remove the injectors just so that I can. Otherwise, doing it later can be a pain. But, if I'm not able to, it may have to be removed at a shop anyway. Other hoses, pipes, gaskets, and bolts will be replaced as well. I have a parts catalog and shop manual on hand on the computer and will be going over them to get a list together.

Just the engine itself is plenty of work. But the main reason I pulled it out in the first place, was to replace the fuel tank, which has just begun.

current state in the cabin

exhaust elbow, below is one engine zinc

the other engine zinc


fuel pump

surface rust hasn't been there long


thermostat cover

the rust line coming from the exhaust mixer above

fuel pump to the left, side zinc in the center

exhaust mixer mounting


thermostat cover again, to be replaced w/bolts


inside of exhaust mixer


Not much, but it's a start to removing the fuel tank. Doesn't look to me like fiberglass was used, just resin holding the tank. Some parts was maybe 1/8" thick and the aft area was closer to 1/4" or slightly more. Using an oscillating cutting tool, a screw driver, and a 3lb sledge hammer, it's coming out well enough. Then, the foam underneath will be torn out as well.


Friday, December 4, 2015

Engine Is Out

Just a quick post showing I got the engine out today so I can get to work on replacing the fuel tank under it.


Saturday, November 21, 2015

Slow Work Day

Slow day this weekend. Not a whole lot of work on the boat. I spent more time chatting with a couple other guys who are about to head out on their boats down the ICW to Florida. Not really with the snow bird crowds but moving there.

I did some measuring of hoses to see what I may need. The cockpit drains have a white plastic hose that I'm thinking to replace with rubber wet exhaust hose. My reason is that the hose clamps can get better compression onto the seacocks. Speaking of which, I found out one of the seacocks has worked loose due to the wood backing plate getting soft. Good thing they're getting replaced anyway. The only other work I did was to drill out a couple small holes on the deck that had failed patches and filled them in with thickened epoxy. I also had a quick look at placement of the access ports for the water tanks.


Safe travels to all these coming weeks.